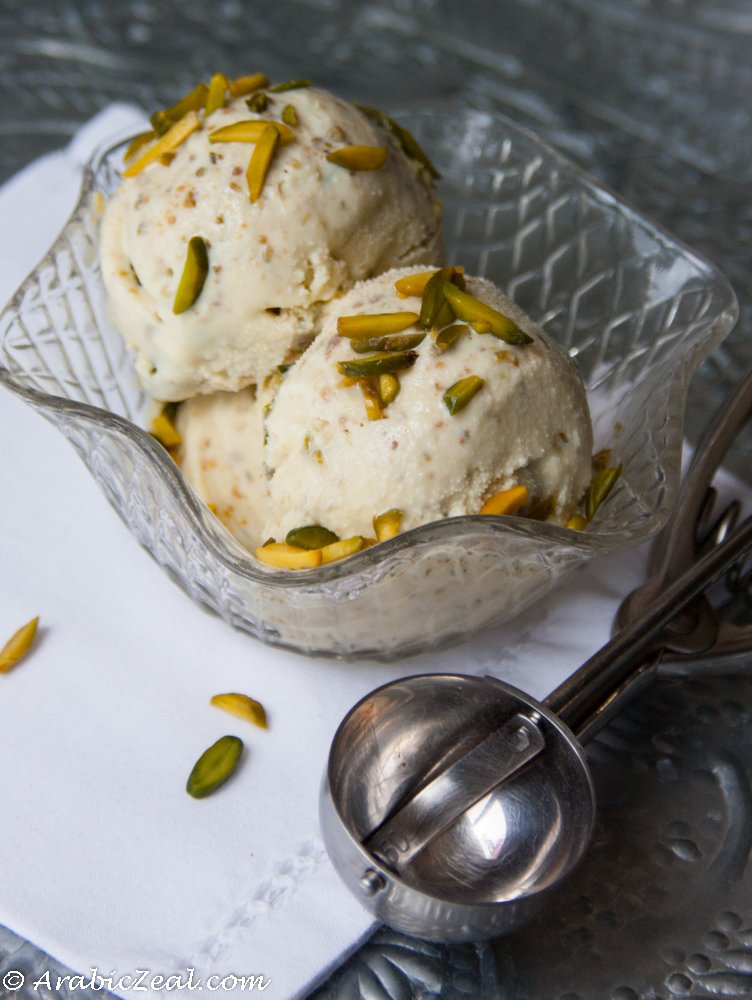
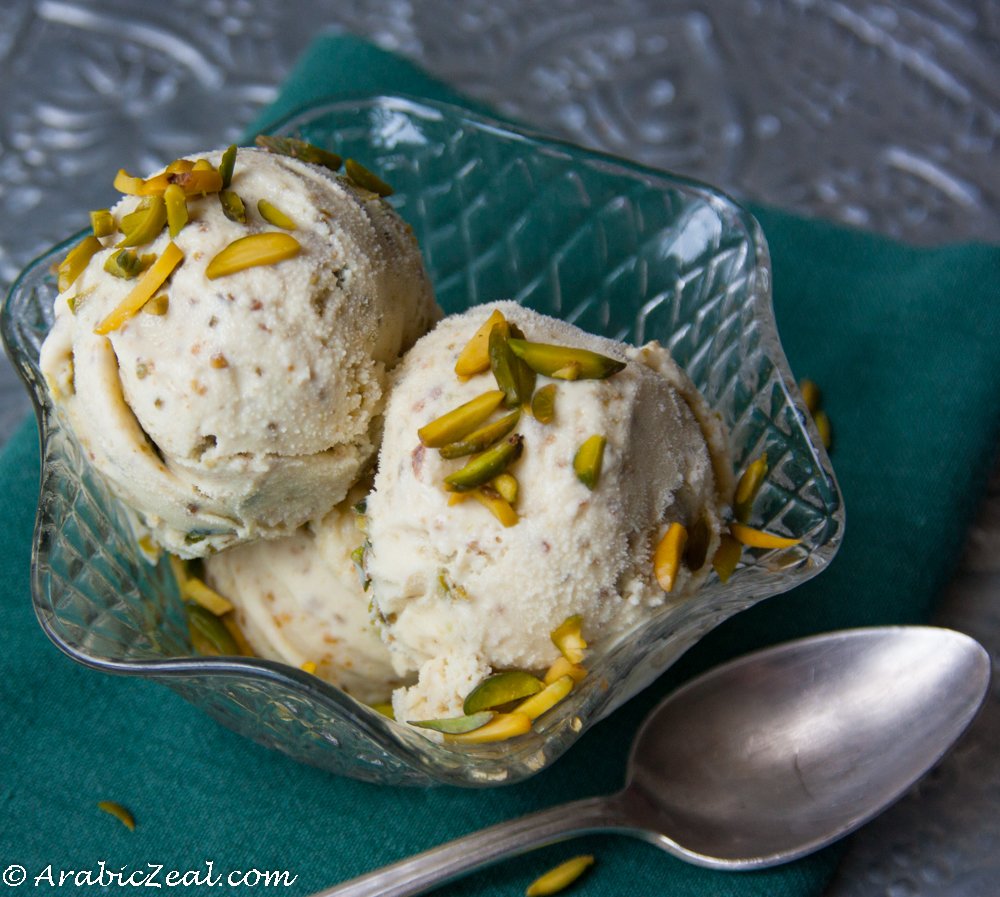
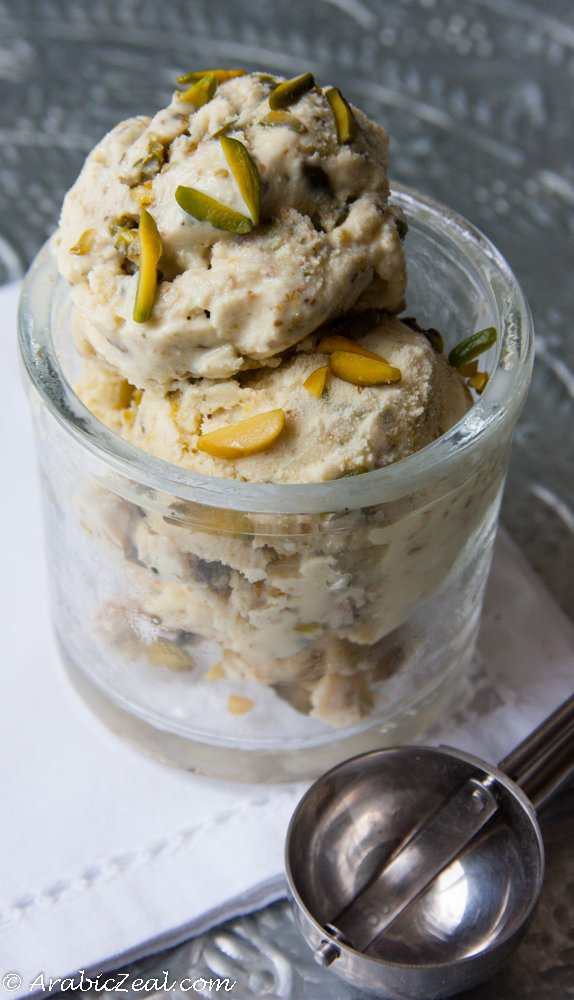
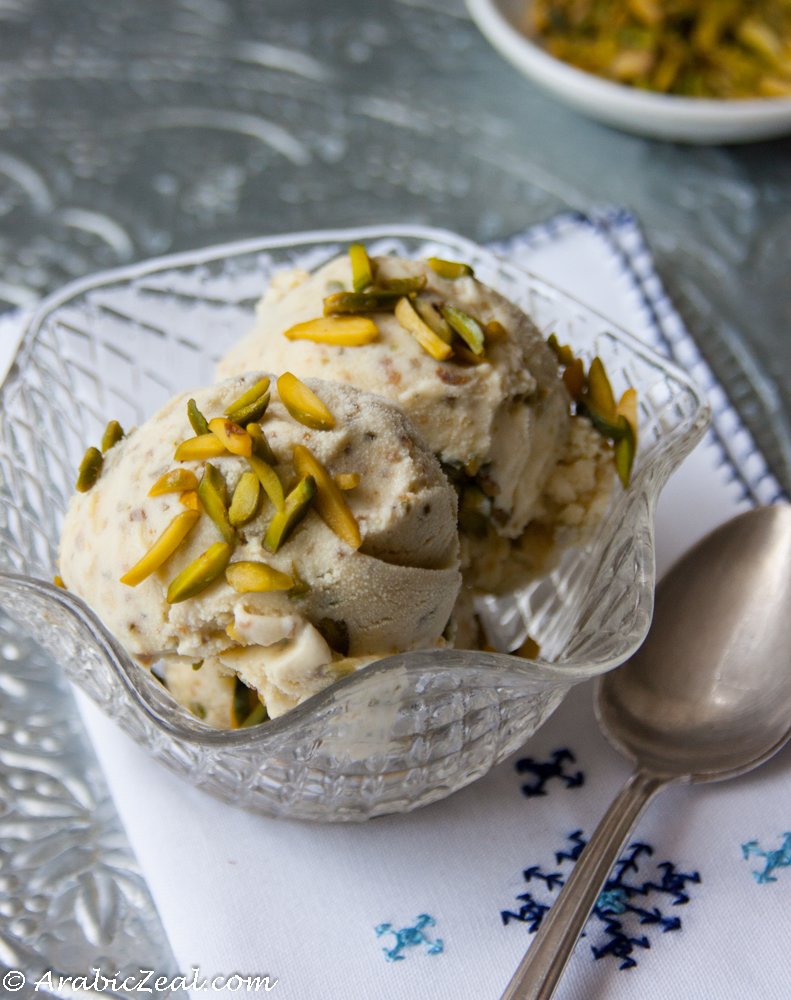
Pistachio Ice Cream with Rose Water ~ Homemade & Heavenly
As the heat in Dubai soars, I crave ice cream.
Actually, I crave ice cream in all weather conditions, and as I lover of ice cream, one of my greatest food pleasures is making ice cream at home. In fact, my Cuisinart ice cream maker is my most-loved kitchen appliance.
And after much reflection, I’ve decided that my favorite flavor is Pistachio—greenish and nutty, exotic and subtle, crunchy yet silky. What could be more heavenly?
According to David Lebovitz, there are two basic styles of ice cream: (1) French-style, which is custard-based and made with egg yolks—smooth and creamy, but fussy to prepare, and (2) Philadelphia-style, a simple combination of milk, cream, and sugar, but no eggs—easier, but freezes a bit hard.
After going back and forth between those two styles, I’ve recently discovered a third, which is my new preferred way to make ice cream. This style requires no eggs, yet its texture is still creamy and smooth. Jeni Britton Bauer is the creator of this new technique, explained in her book Jeni’s Splendid Ice Cream at Home.
Basically her method is this: Add a little cream cheese, cornstarch, and light corn syrup, and you can achieve wonderful creamy ice cream without having to mess around with an egg-yolk custard.
Below is my recipe, using Jeni Britton Bauer’s technique.
Pistachio Ice Cream with Rose Water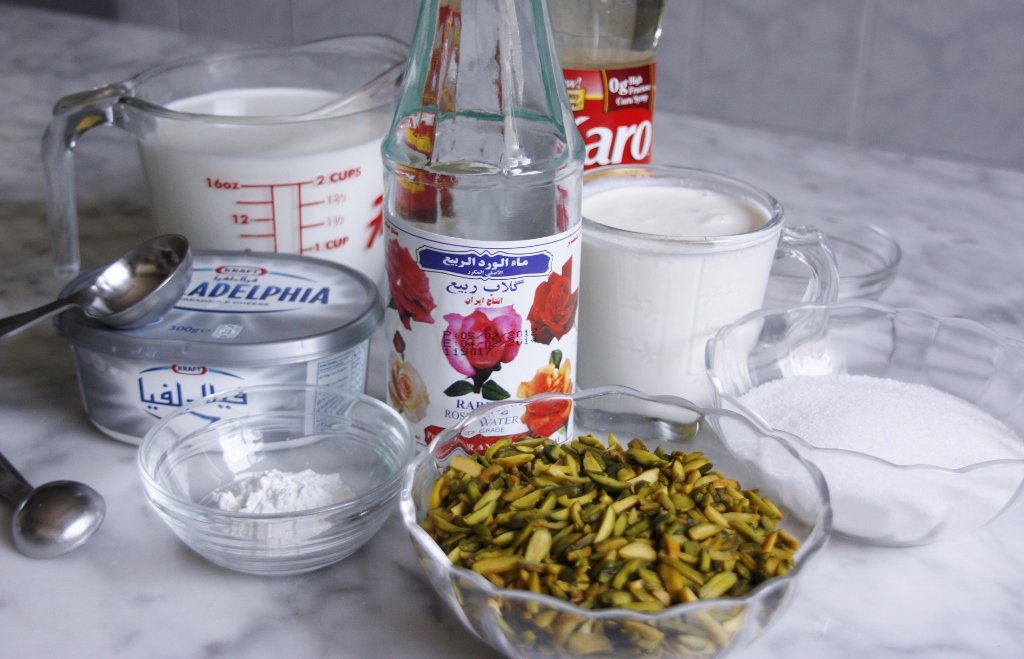
Makes about 1 quart
1 cup pistachios, coarsely chopped
3 Tablespoons cream cheese, softened
½ teaspoon salt
1 Tablespoon cornstarch
2¼ cup whole milk
1 cup (200 ml) cream
2/3 cup sugar
2 Tablespoons light corn syrup
1 Tablespoon rose water
Method
1. Preheat the oven to 350°F / 175°C. Spread HALF of the pistachios on a baking sheet and toast in the oven for about 4-5 minutes until fragrant, turning once—don’t over-toast or the pistachios will lose their green hue. Remove from oven and pulverize in a blender until pistachios form a coarse paste. Add a few drops of water if necessary. Transfer to medium bowl and whisk with cream cheese and salt until smooth.

2. In tiny bowl, mix cornstarch with 2 Tablespoons milk until smooth. Set aside.
3. Prepare a large bowl of ice cubes and water to use later for cooling the ice cream base.
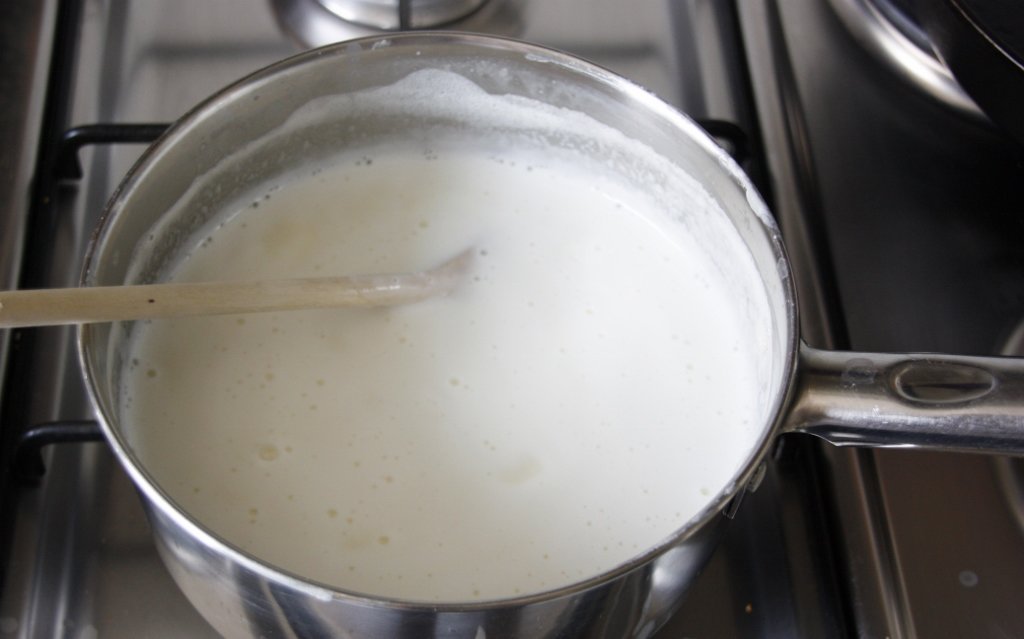
4. In a medium saucepan, combine remaining milk, cream, sugar and corn syrup. Bring to rolling boil over medium-high heat. Boil for 4 minutes. Remove from heat and gradually mix in the cornstarch/milk mixture. Bring back to boil and cook, stirring constantly until slightly thickened, about 1 minute. Remove from heat.
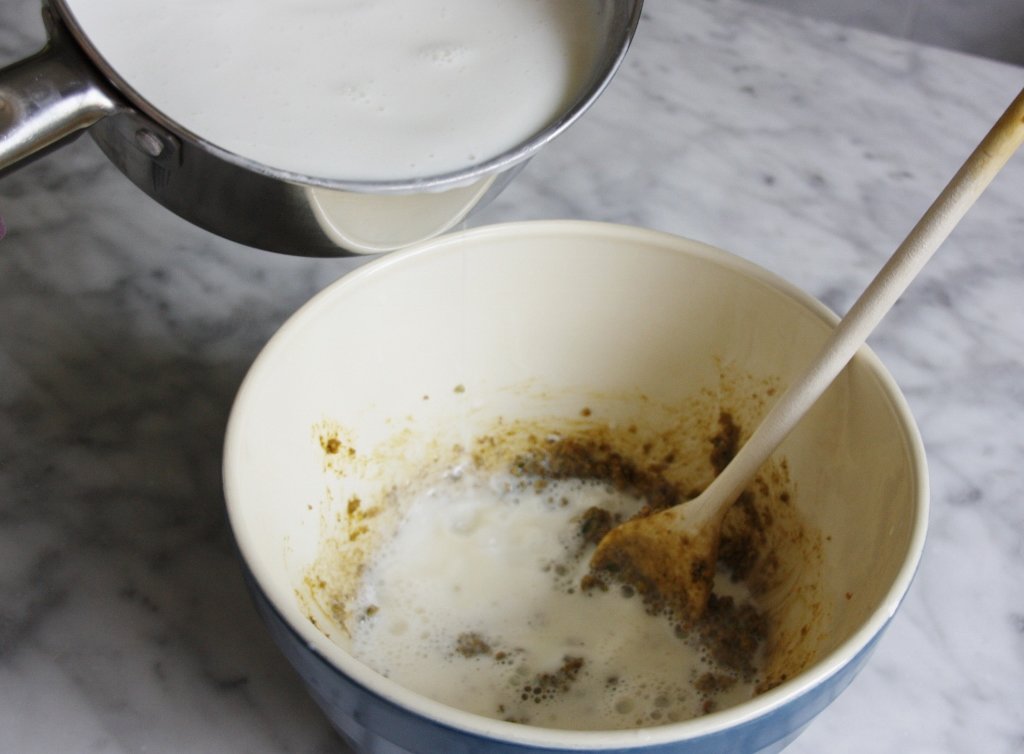
5. Gradually whisk the hot milk mixture into the pistachio paste. Whisk until smooth.

Pour into a clean glass pitcher or large Ziploc bag and submerge (seal Ziplock first) into the ice bath. Let stand, adding more ice if necessary, until cold, about 30 minutes.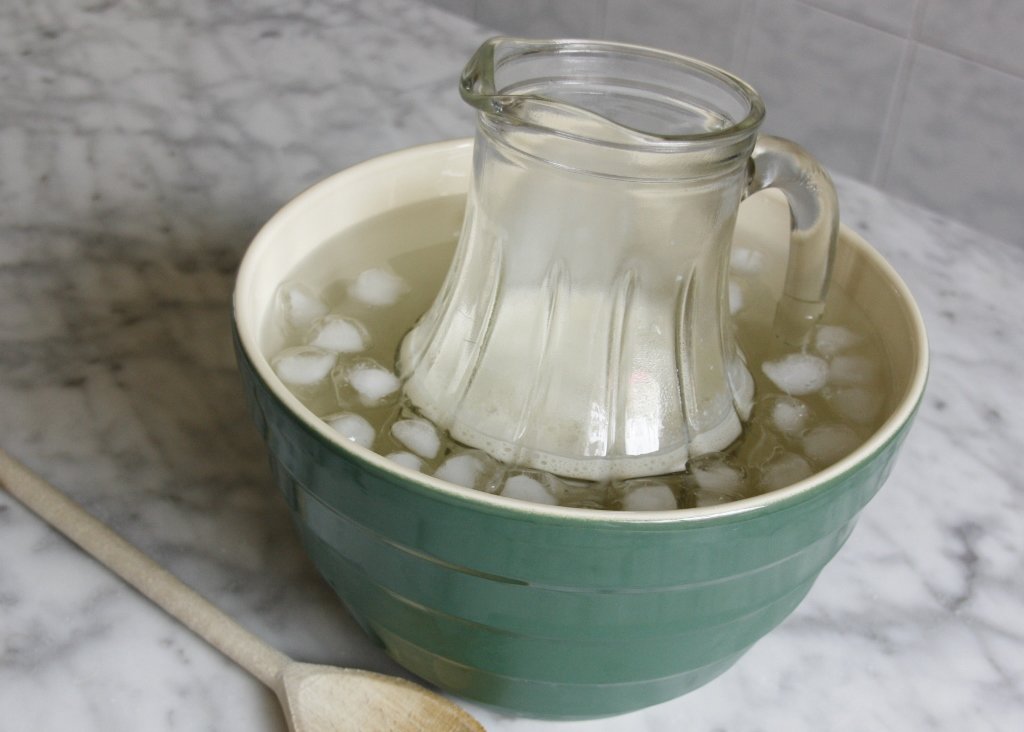
6. Transfer ice cream base to refrigerator and chill completely—for about 6 hours or overnight.
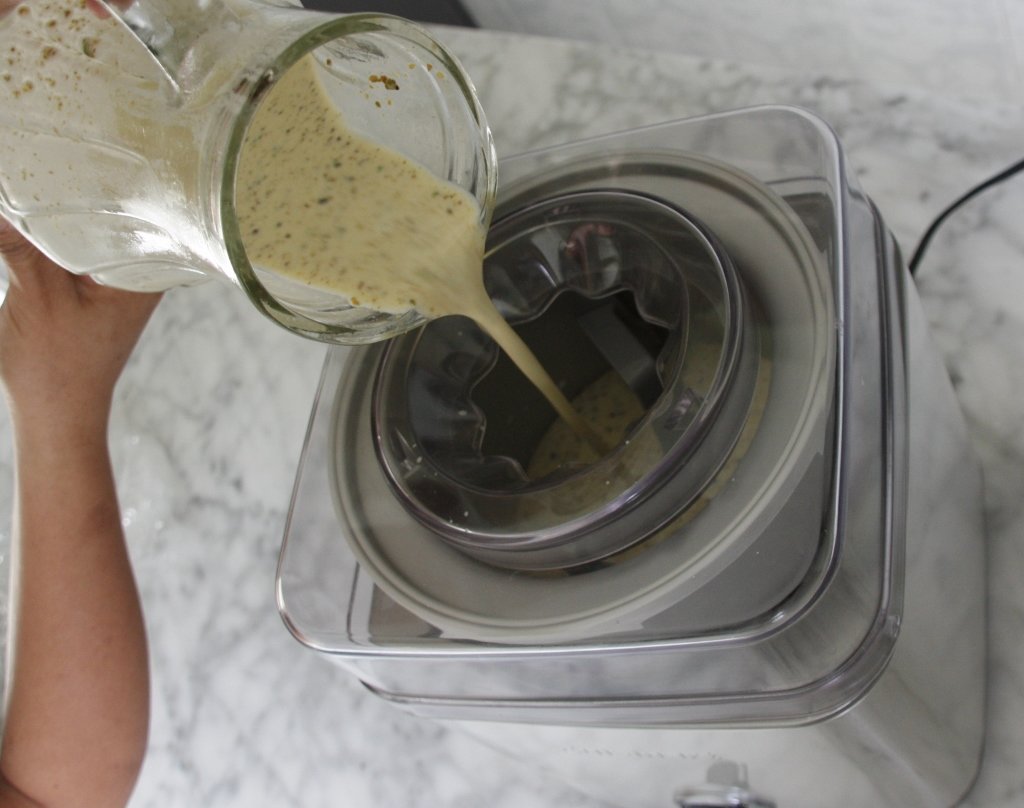
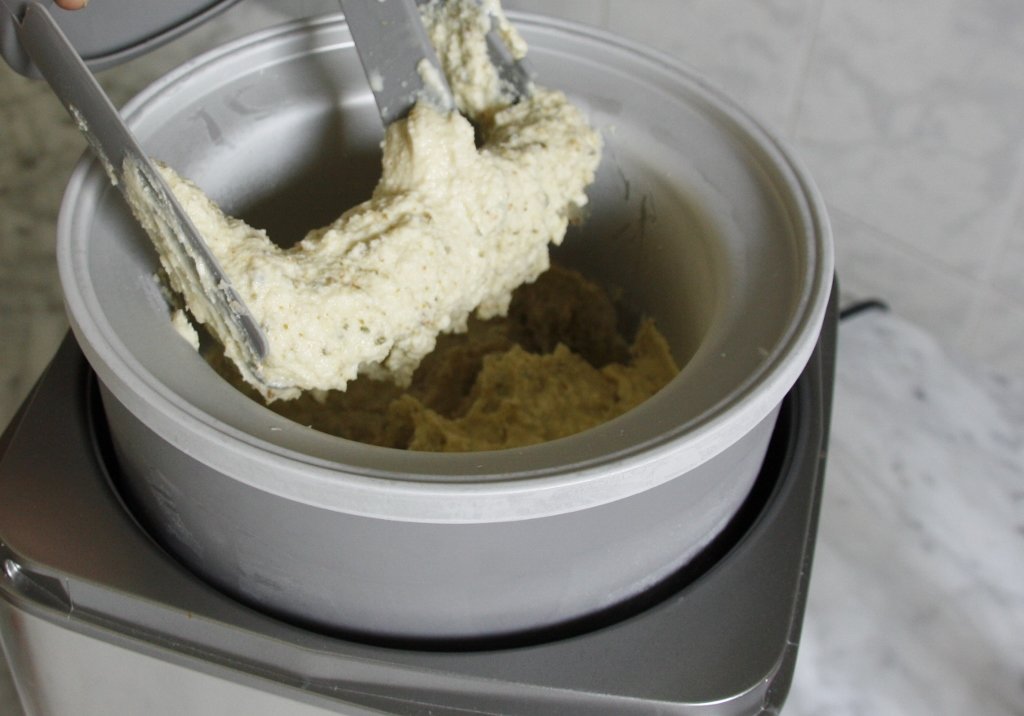
7. To freeze the ice cream, be sure to start with the machine’s base that is completely frozen. (Keep in freezer for at least 24 hours.) Turn on the ice cream machine and gradually pour in the ice cream base through the top of the machine. Leave to spin until thick and creamy, about 25 minutes.
8. While the ice cream is freezing, get the following ready: the rose water, the remaining ½ cup pistachio nuts (chopped), and a storage container with airtight lid, which can be pre-chilled in the freezer.
9. Just before the ice cream is ready, add the rose water to the machine.
10. Pack the ice cream into the container, layering it with the pistachio nuts. Seal and freeze in the back of your freezer for at least 4 hours. 
11. Garnish with more pistachios and an extra sprinkle of rose water, if desired. Enjoy.
What is your favorite homemade ice cream or pistachio treat?
 Follow


