Classic Apple Pie ~ Easier Than you Think
 I’m diverting from my Arab theme this week because apple pie is a universal favorite, and the American holiday of Thanksgiving is coming up.
I’m a bit obsessed with apple pie. As a child growing up in Washington State (the apple state) I learned how to make it. And now as an expat living in Dubai and a homesick Washingtonian, I’ve made countless apple pies for holidays, international days, and for no reason at all.
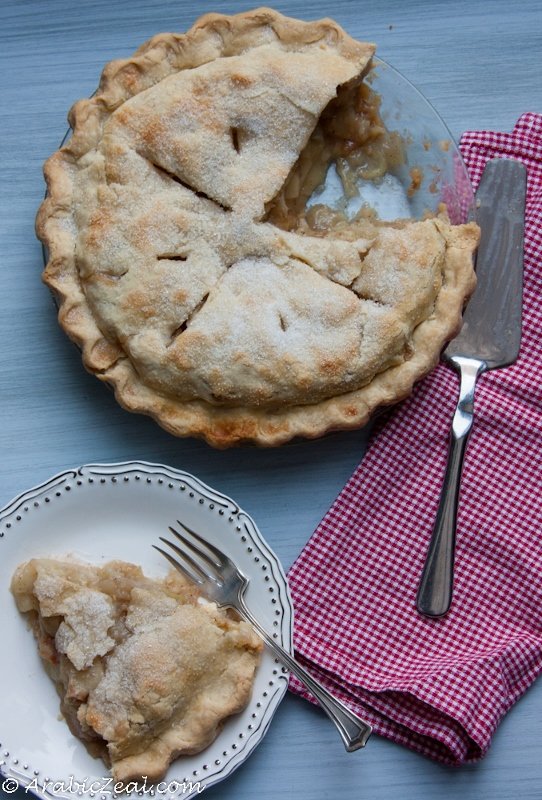
Some people stress out about making pies and pie pastry. I think they are aiming for “perfection,” not realizing that a fruit pie is a RUSTIC dessert. Any cracks and imperfections and liquid oozing out of the top will simply make the pie look more delicious!
As for types of apples, I use mostly Granny Smiths, which are green and tart, and I include a few sweet red apples, such as Braeburn, Rome Beauty or Pink Lady. Here in Dubai, apples are labeled simply “green” or “red” so sometimes it’s a bit tricky figuring it out. Just keep in mind, you can’t go wrong with Granny Smith.
Not everyone grew up eating this dessert or watching their grandmother making pie. So, here you go, my Apple Pie Primer.
Pastry Ingredients
2 cups (300g) all-purpose flour
1 teaspoon salt
2/3 c + 2 Tablespoons (160g) softened butter and/or shortening
Filling Ingredients
½ cup (100g) sugar (or less)
1/3 cup (50g) flour
¼ teaspoon nutmeg
¾ teaspoon cinnamon
7 medium apples, peeled and sliced thinly
Method
1. Prepare pastry. In a large bowl, mix flour and salt. Add softened butter and cut into flour with pastry blender or fork. Keep blending until butter particles are the size of peas. This texture will create a flaky crust. 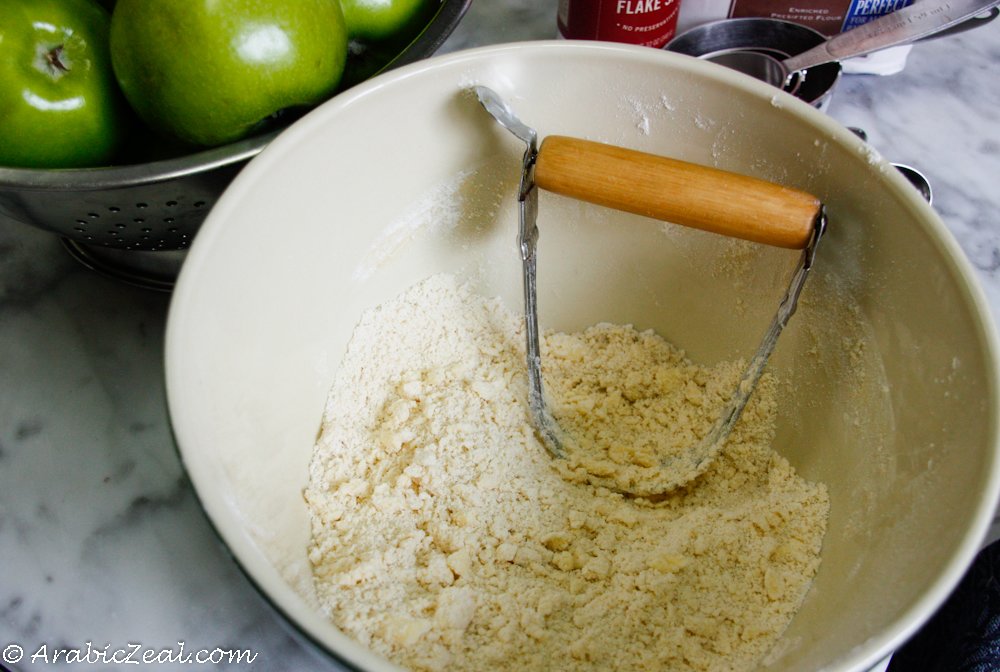 Sprinkle in the ice water, a few tablespoons at a time, blending the mixture with a wooden spoon. Form pastry into a ball and divide into two.
 On a floured surface, form one half into a disk and dust with flour. (Cover the other half with a dish towel and set aside.)
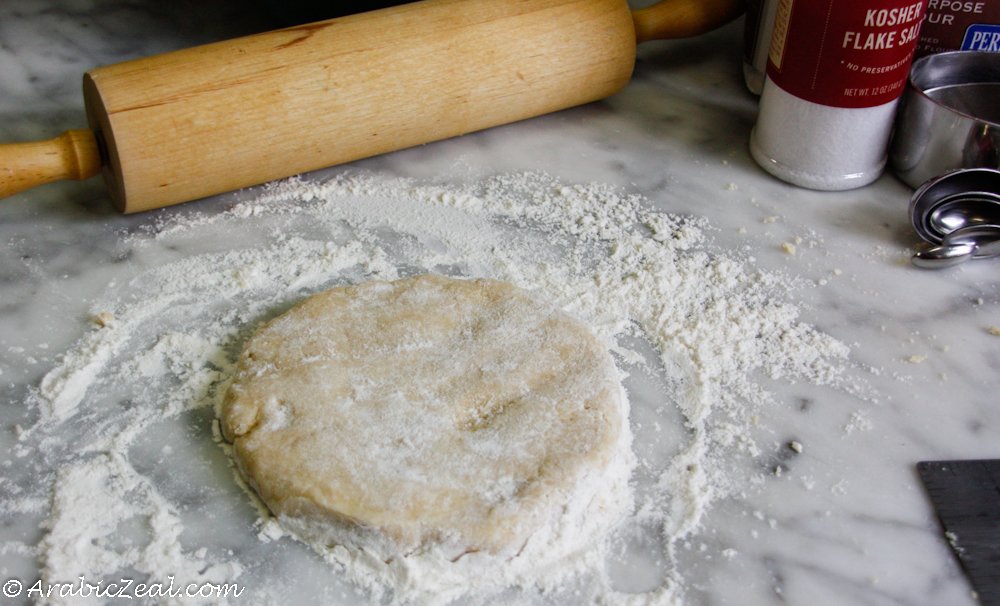
With a rolling pin, roll dough out, rotating the dough frequently to prevent it from getting stuck to the counter. If you are nervous about this step, try rolling dough between two sheets of wax paper.
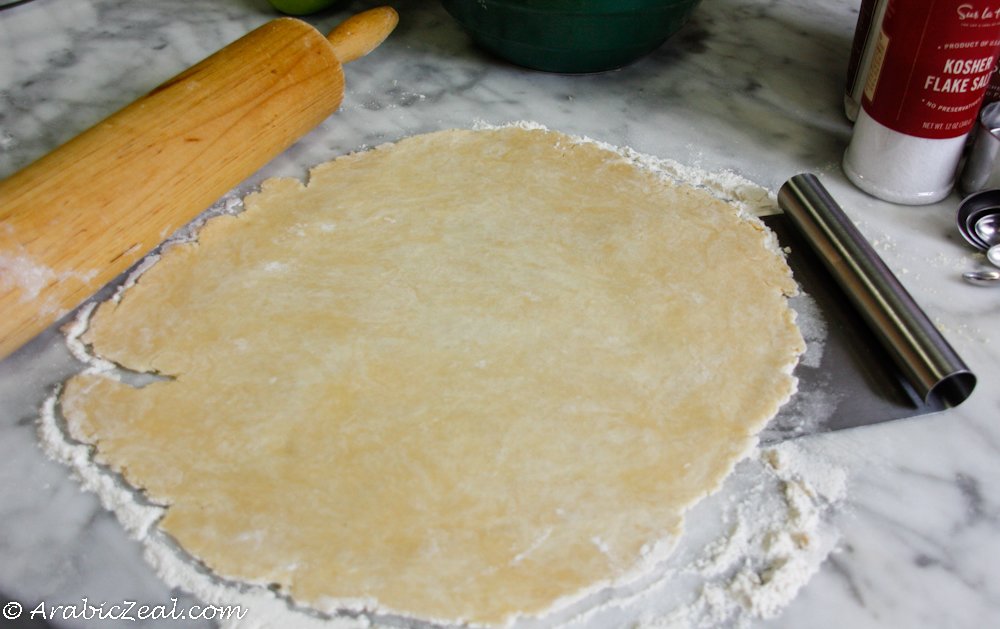 Roll out dough only once. When the dough rips—and it will rip—repair by pressing the dough back together. Do not re-roll or over-handle. Rolling the dough again will destroy the lovely flaky layers of the crust.
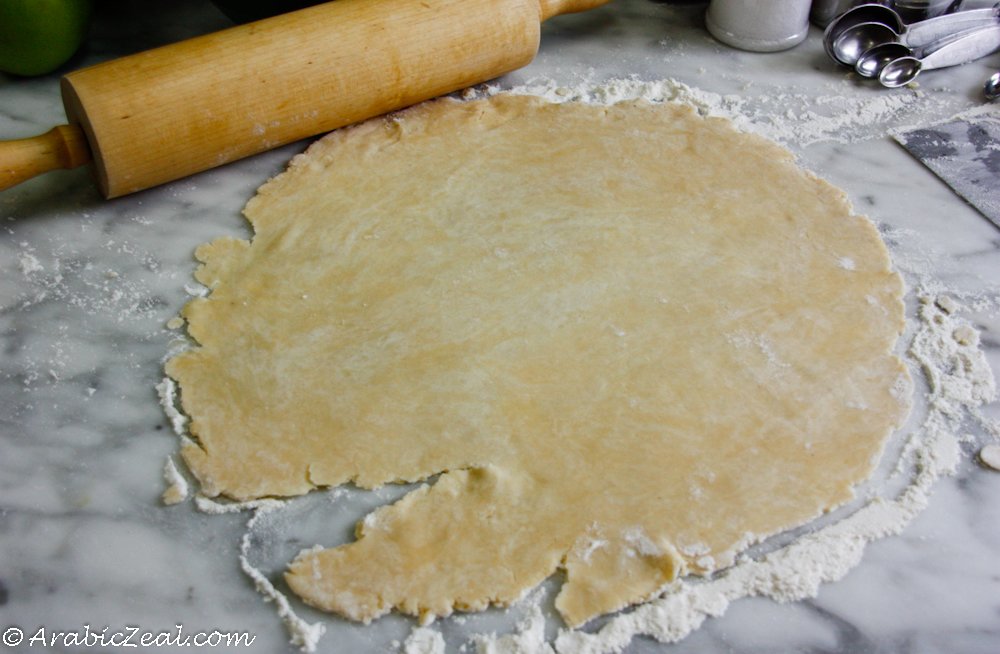
 Check to see you have the right sized round—about 2” larger than the pie dish.
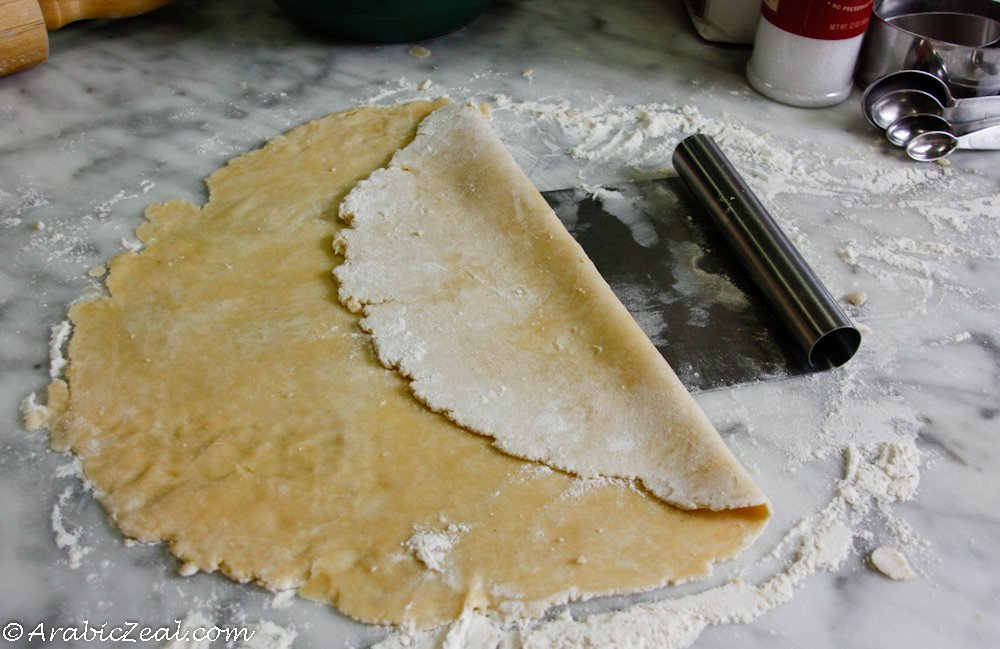
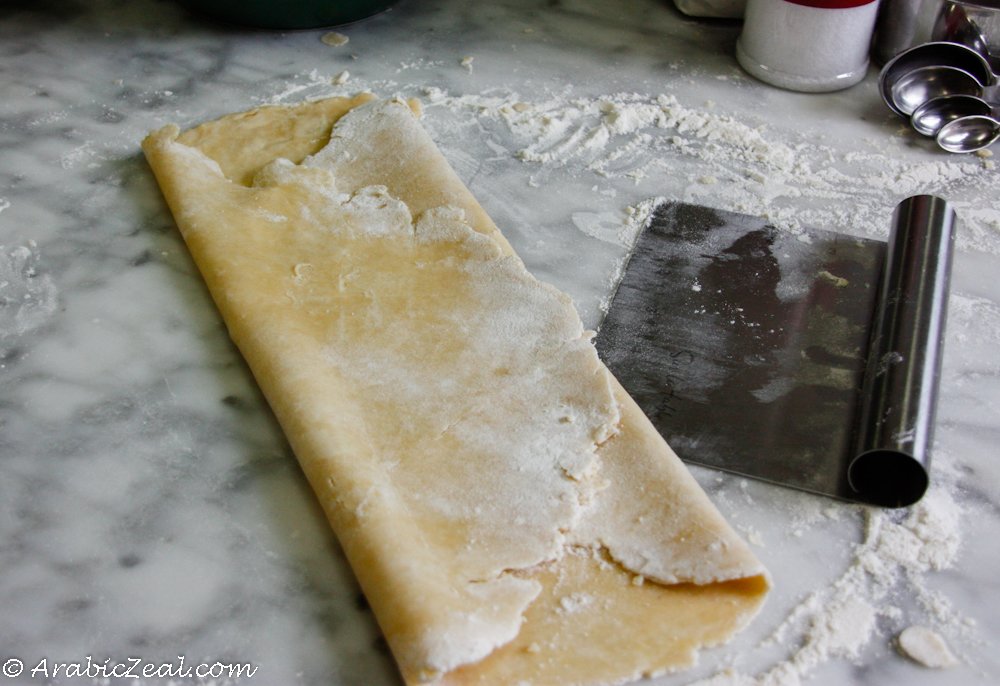
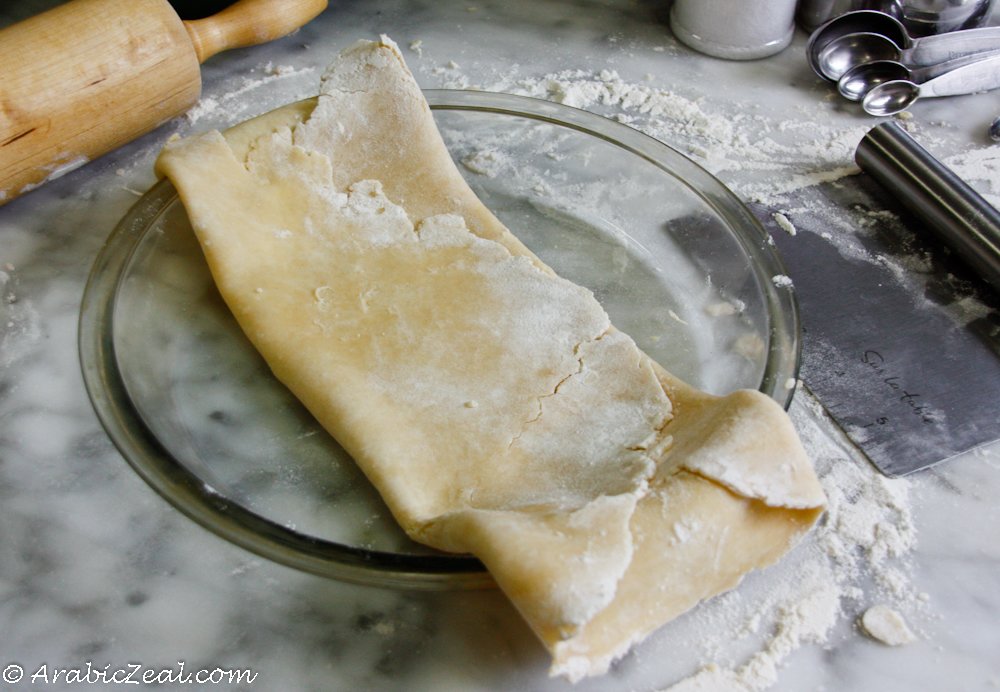
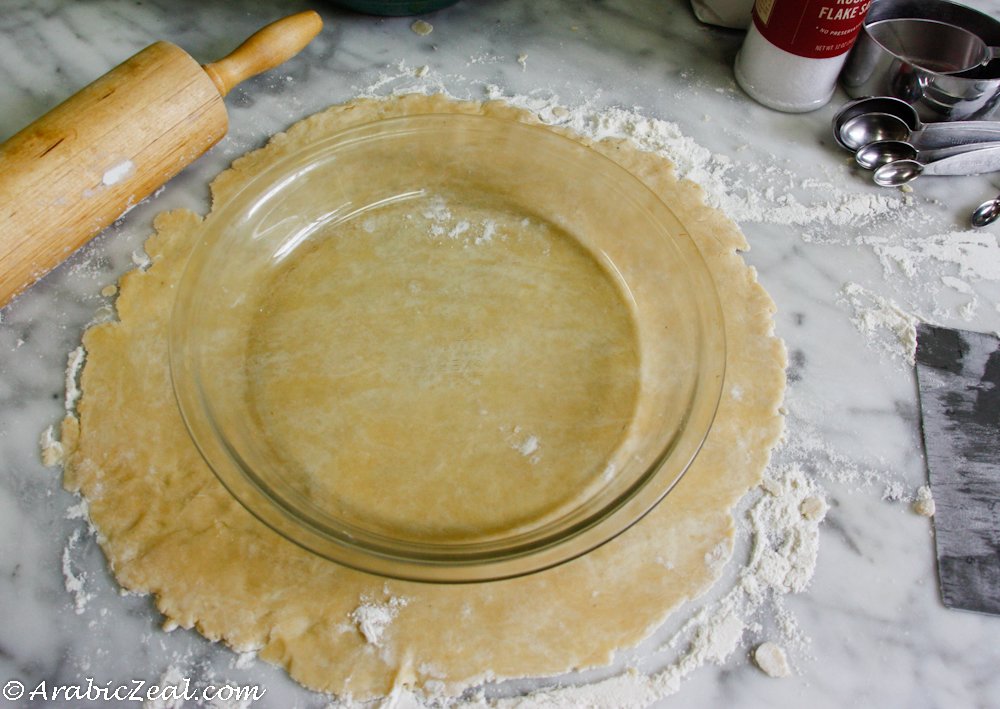 Transfer the dough to the pie dish. Using a scraper or metal spatula, gently loosen the dough, fold into thirds and transfer to pie dish.
2. Preheat oven to 425°F / 220°C. Move rack to the center of the oven.
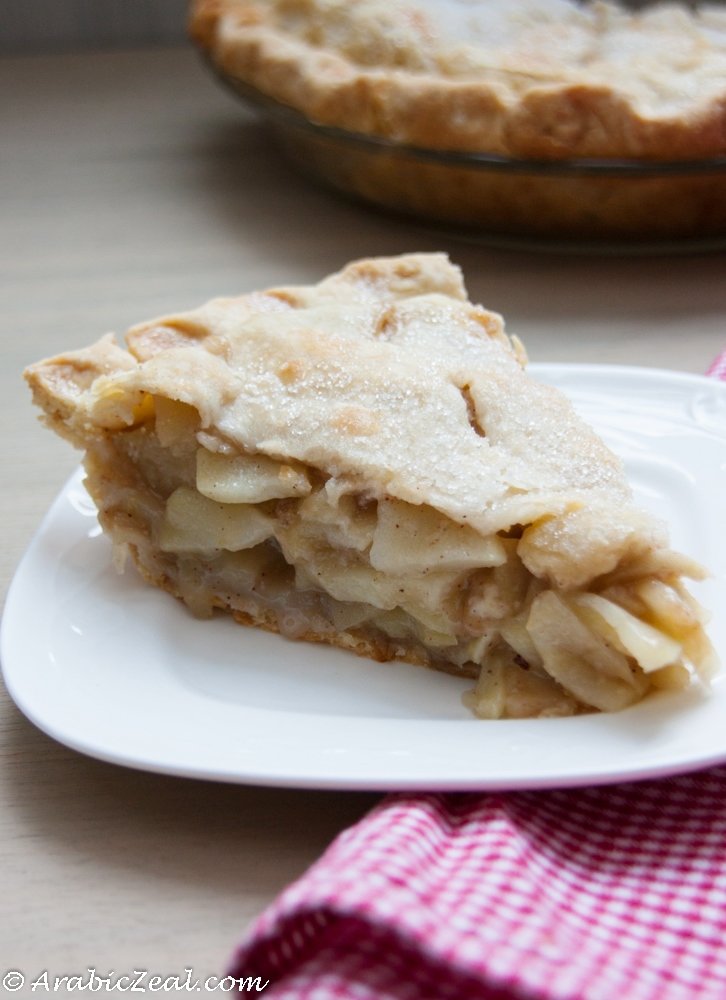
3. Prepare the filling. Mix flour, sugar, and spices in small bowl. Peel and slice apples thinly—or better yet, get a loved one to do it for you. 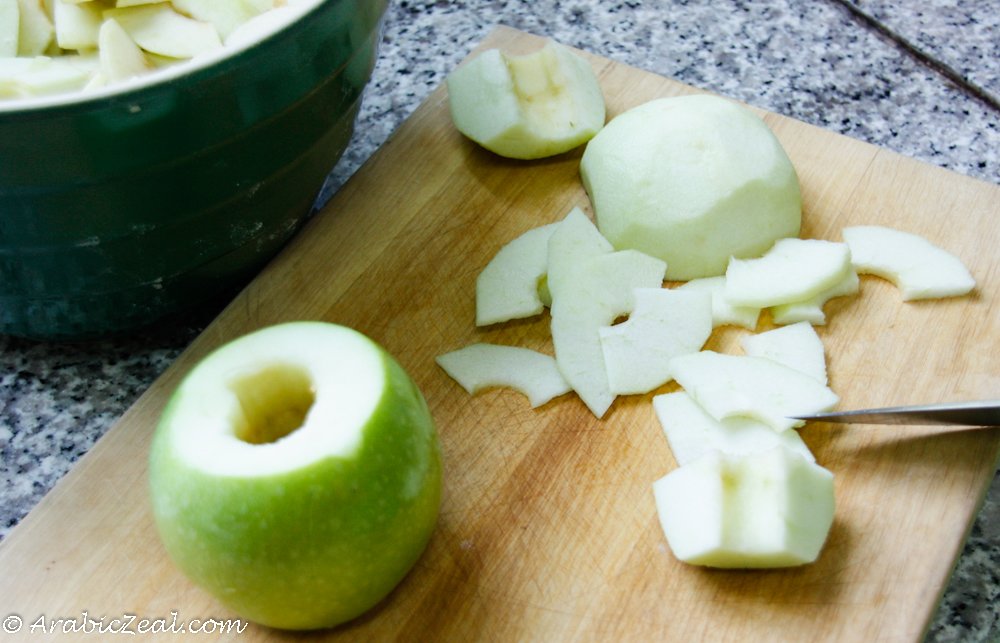 Stir the sugar and spice mixture into the sliced apples until all the apples are coated. Fill the pastry-lined pie plate with the apple mixture. It may seem like too much, but keep adding.
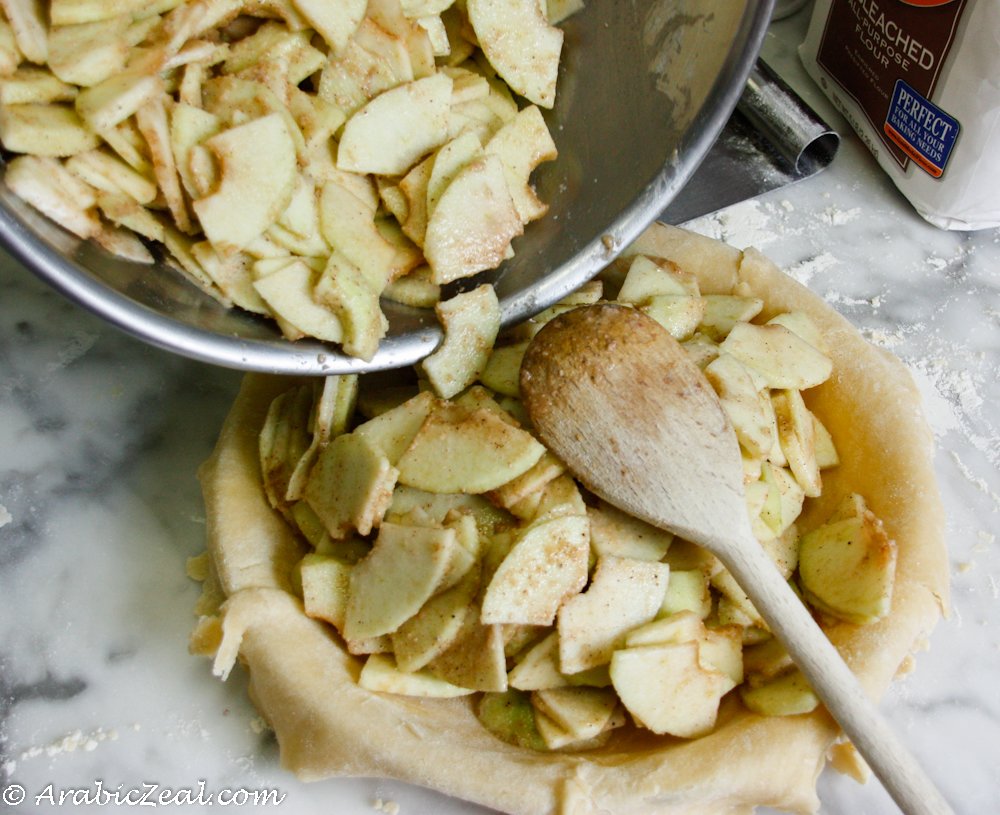 With both hands, pack down the apples. This will help avoid air pockets and create a nicely packed filling.
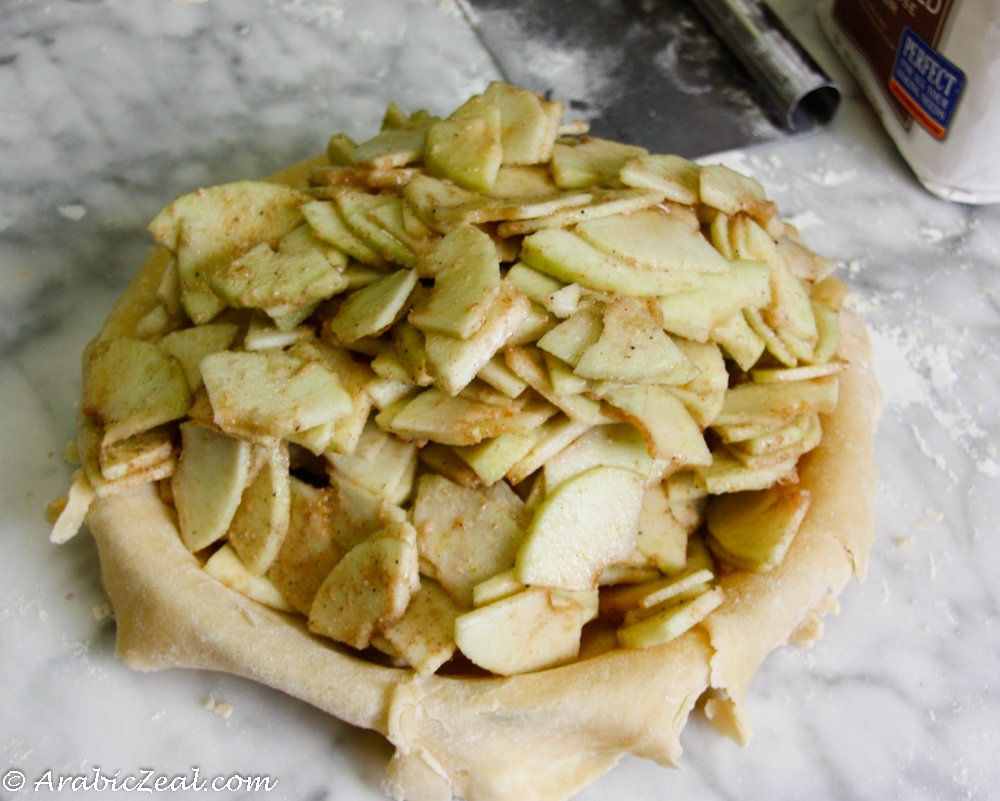 4. Prepare the top pastry. Roll out the remaining dough the same as before and transfer in the same way as before. If the dough rips, don’t stress, just try to press back together and think “rustic.”
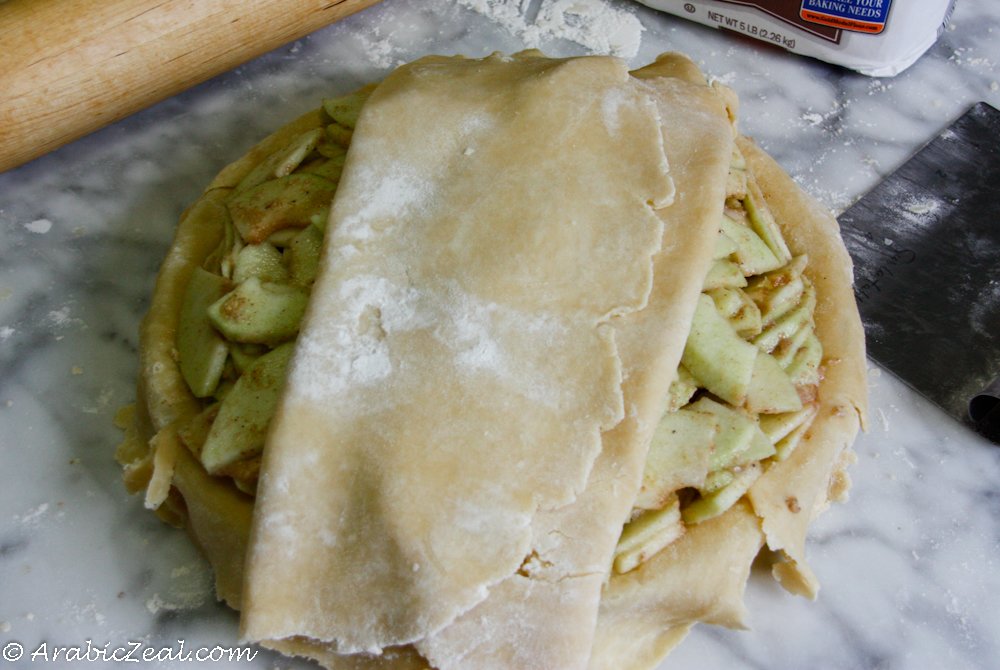
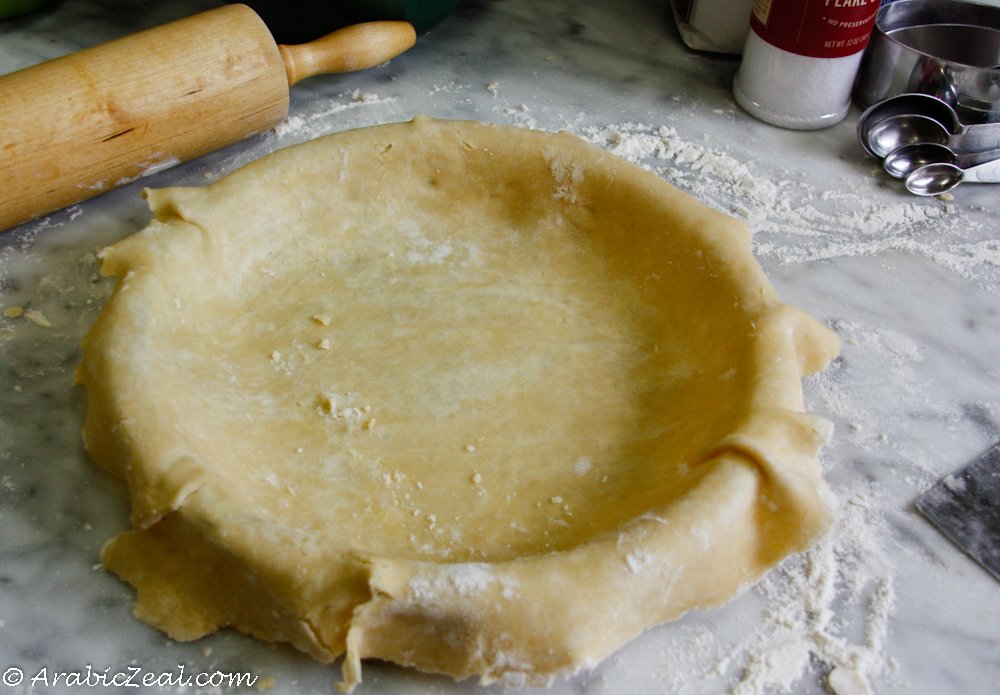
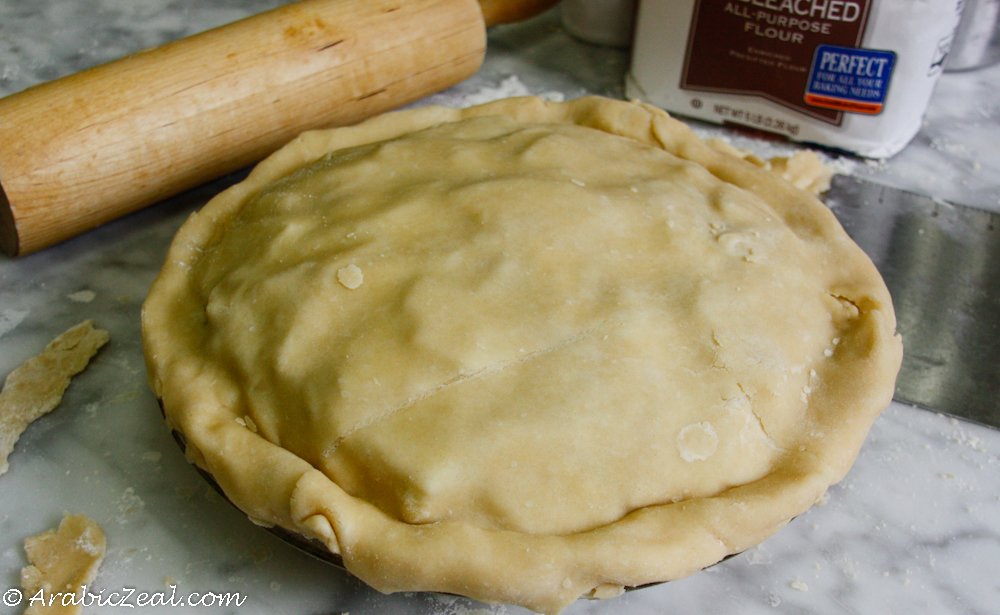
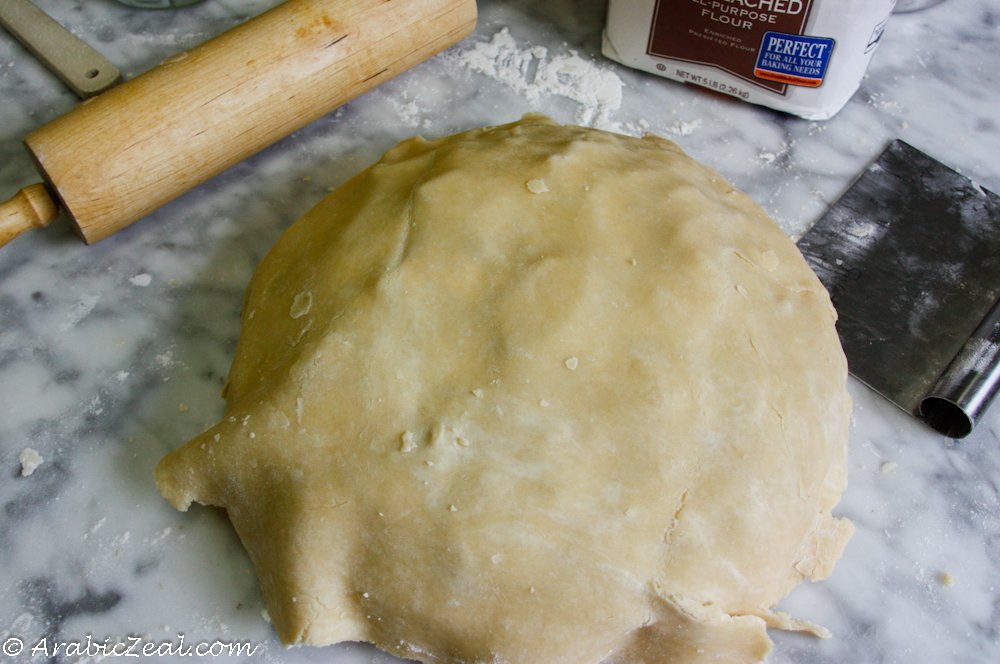 The pastry will overhang around the pie dish. Tuck pastry under all around the dish, trimming and discarding as needed, sealing the edges.
 Flute the crust by pinching in a uniform, decorative manner around the edges.
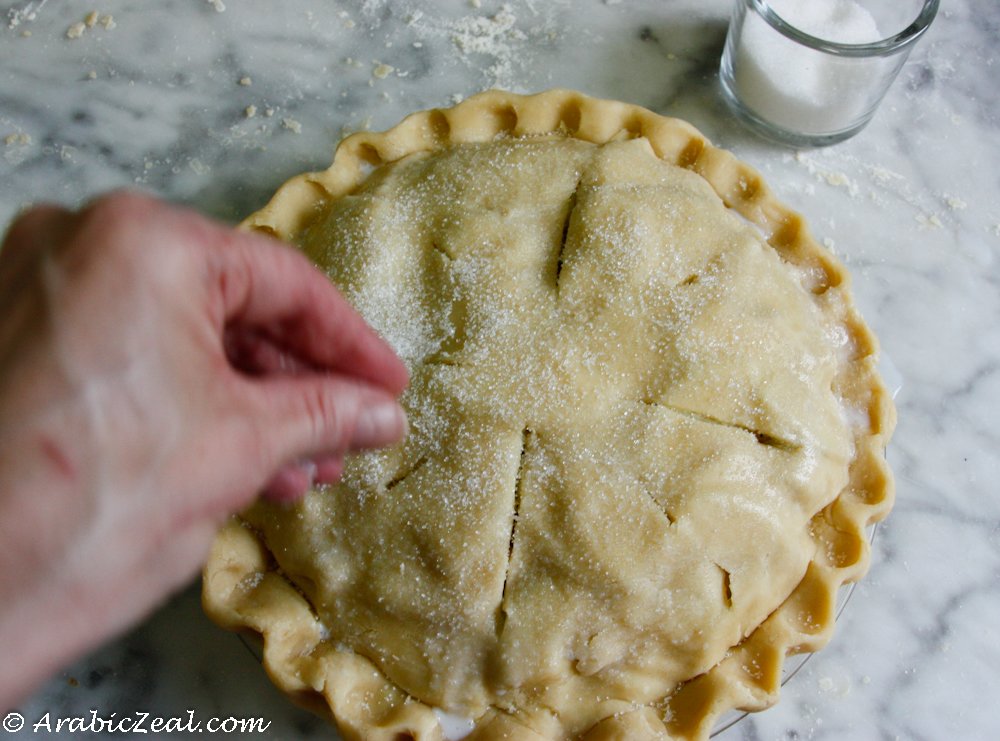
 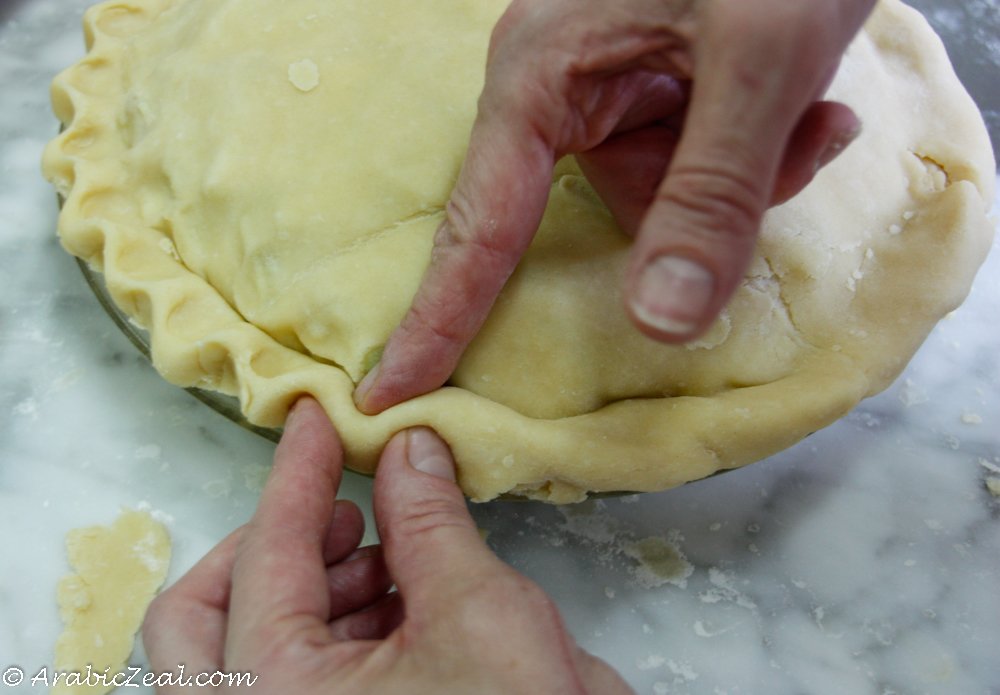 Cut slits in the pie to let the steam escape.
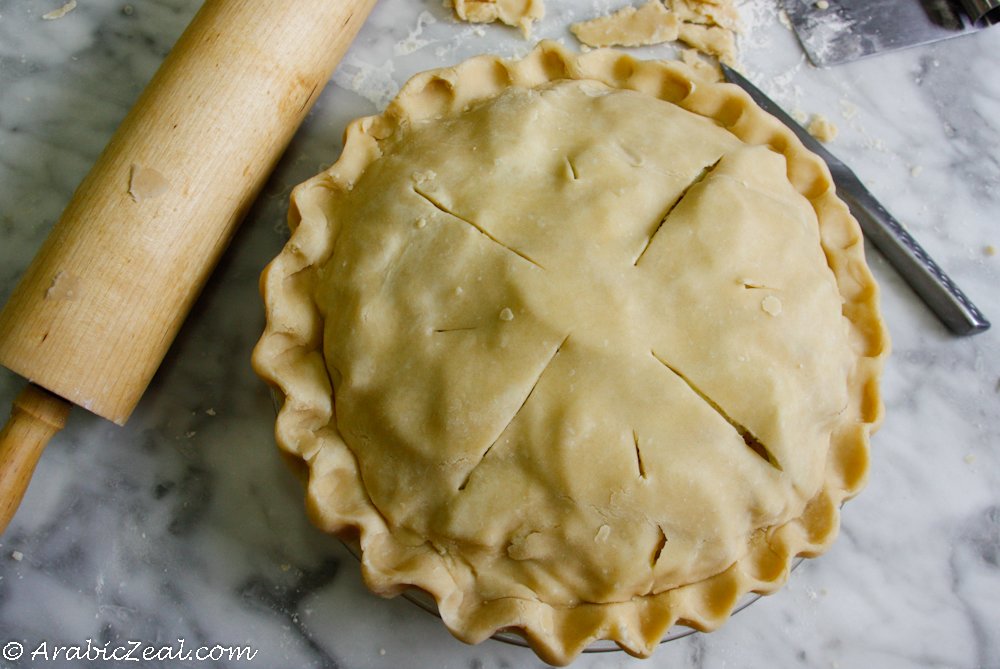 Lightly brush the top with milk and sprinkle with sugar.
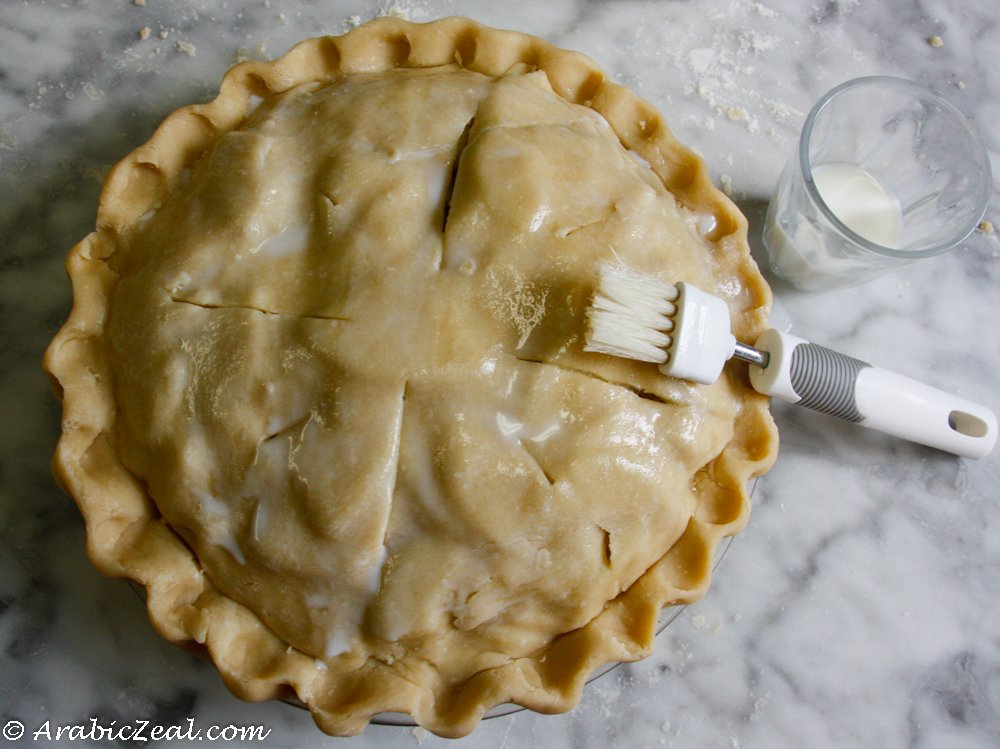
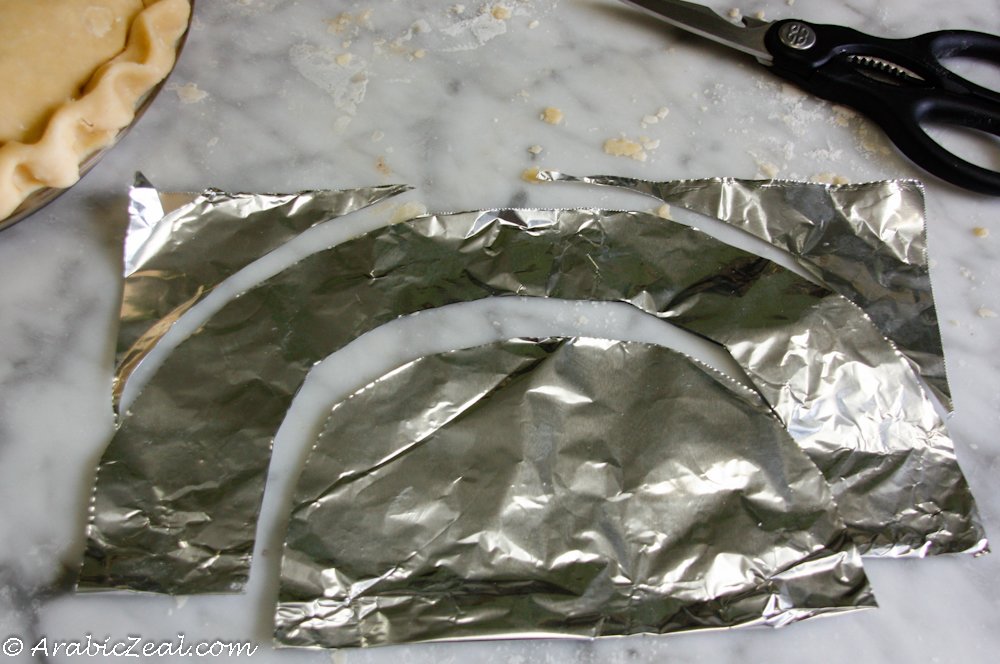
 5. Prepare aluminum foil cover. This step may seem like a hassle, but it prevents excess browning and hardening of edges. Cut out a square of foil. Fold in half and cut a ring of foil to fit the pie. Save the center of the foil.
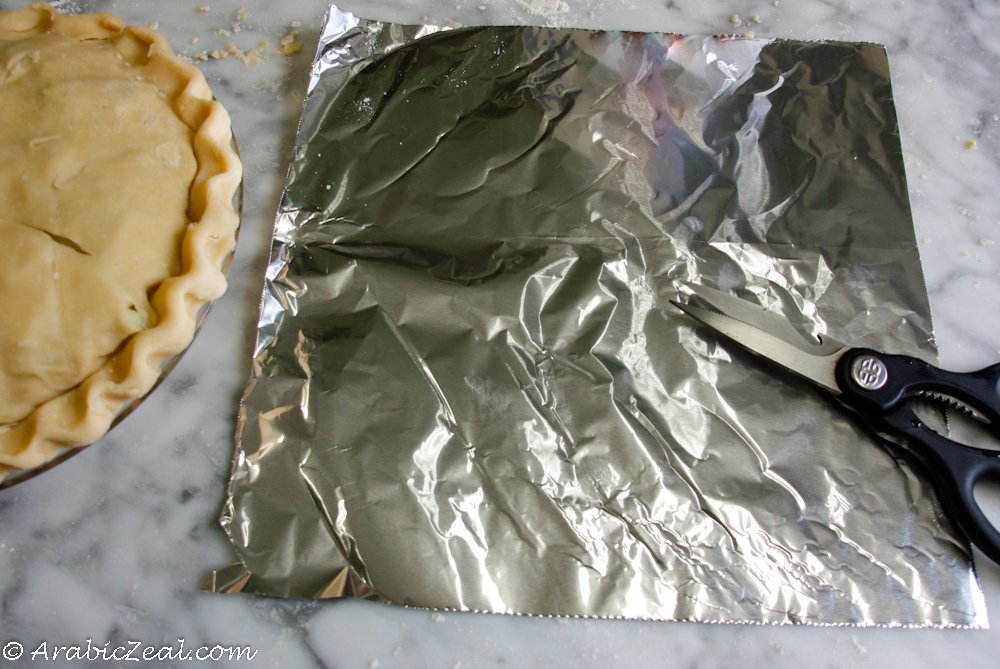
 6. Bake for about 45 minutes. The following is my own method for baking: For the first 15 minutes, bake the pie completely covered with foil. That is, press the ring of foil around the edges and place the center of foil on top.
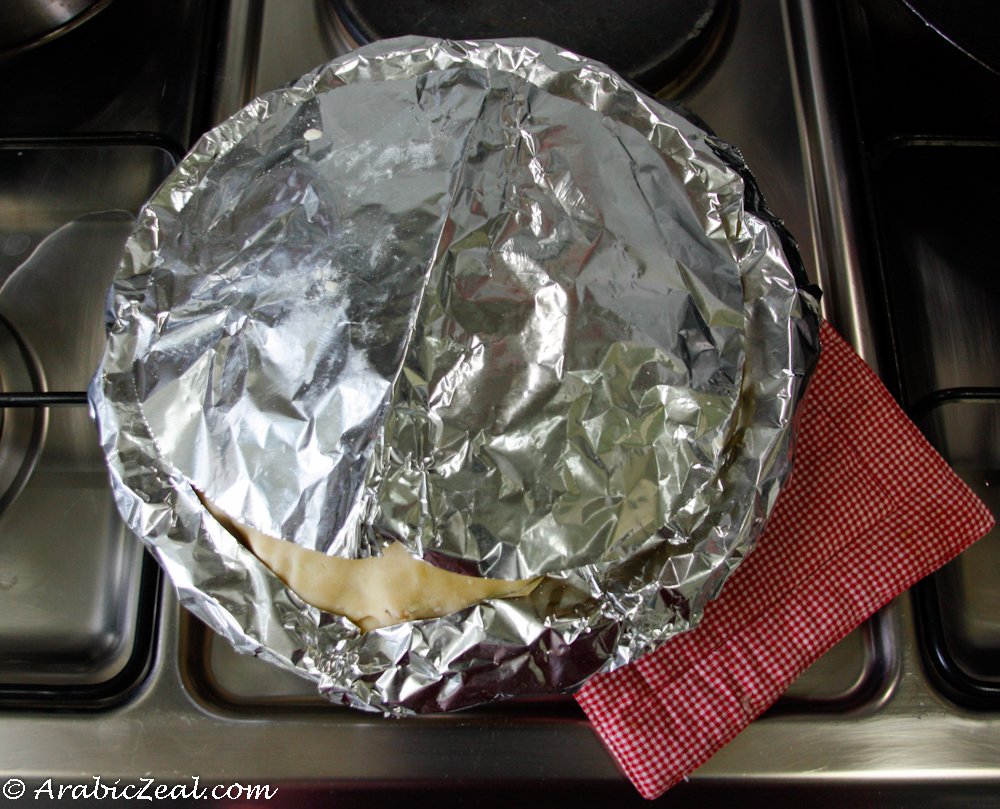 Then remove the top foil and rotate the pie dish in the oven. For the next 15 minutes, bake with the foil on the edges only.
 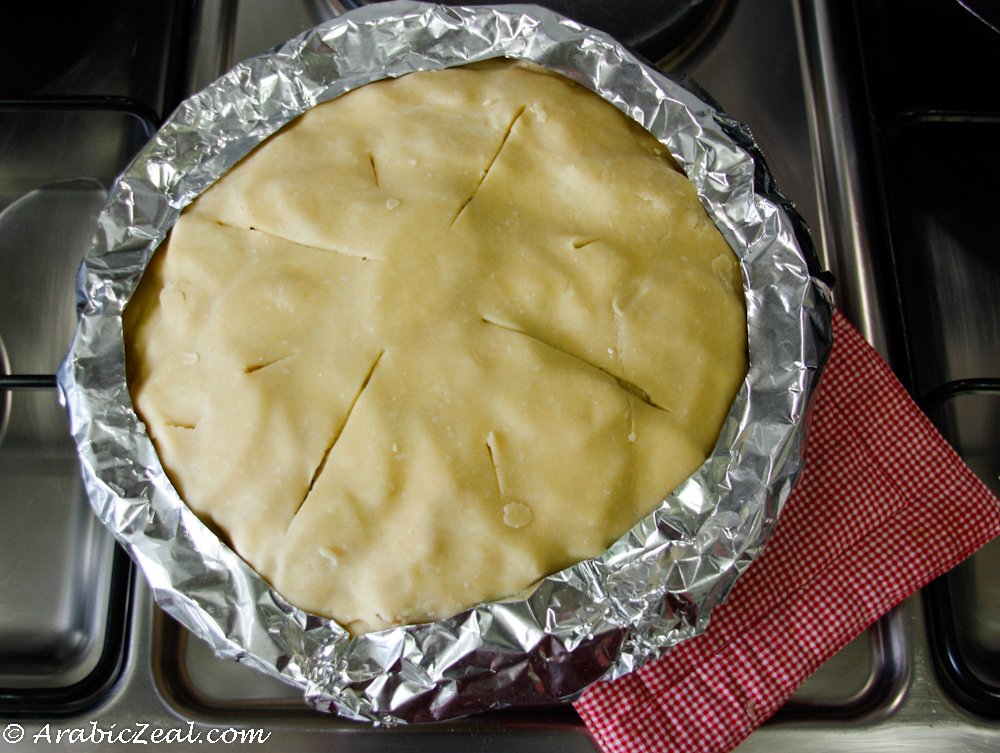 Remove all foil and rotate the pie dish again. For the last 15 minutes, bake the pie uncovered—unless there are dark spots, which you can cover with a piece of foil.
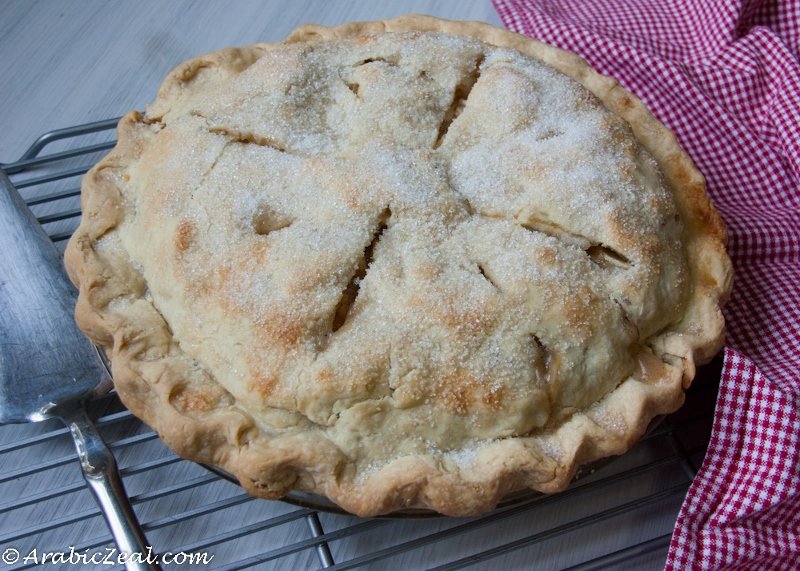
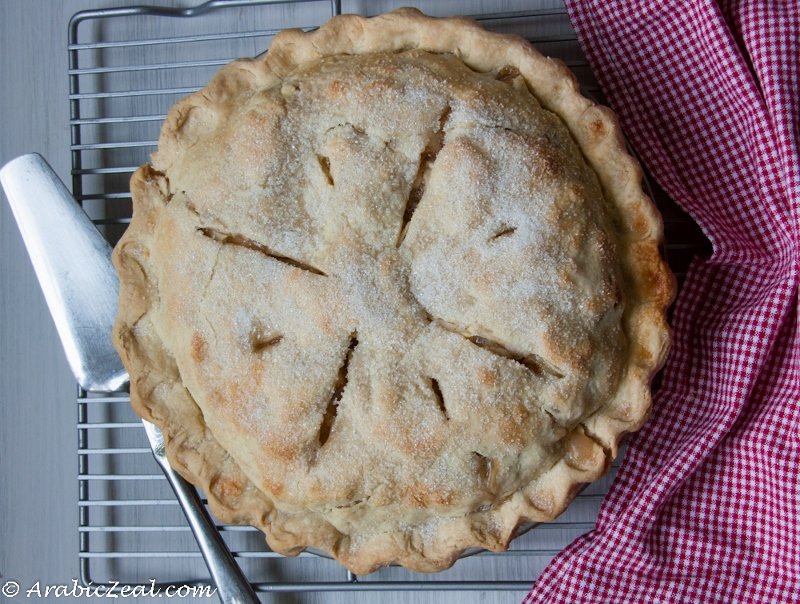
 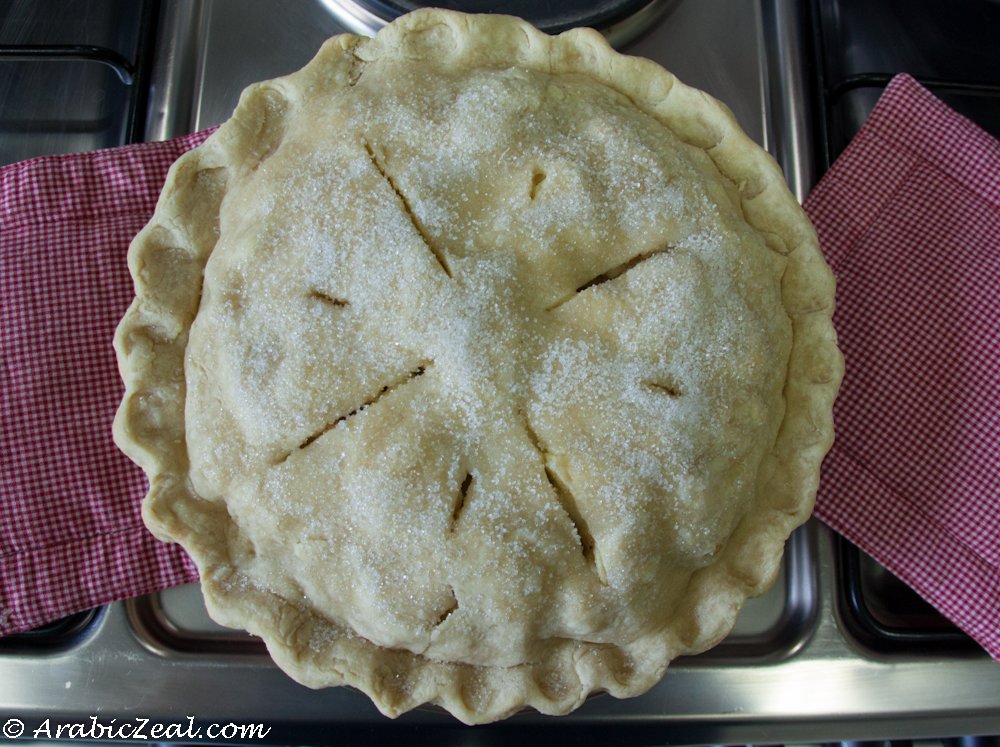 The pie is finished when the crust is lightly browned and bubbling. Remove from oven and cool before cutting.
Questions: What are your apple pie tips and tricks? What pies do you serve on Thanksgiving?