In my last post, I wrote about my trip to the Ubud Writers & Readers Festival on the island of Bali in Indonesia. We were five women from our Dubai-based book club, and we spent nearly a week in Ubud. Meanwhile, I have more to say about the city itself.
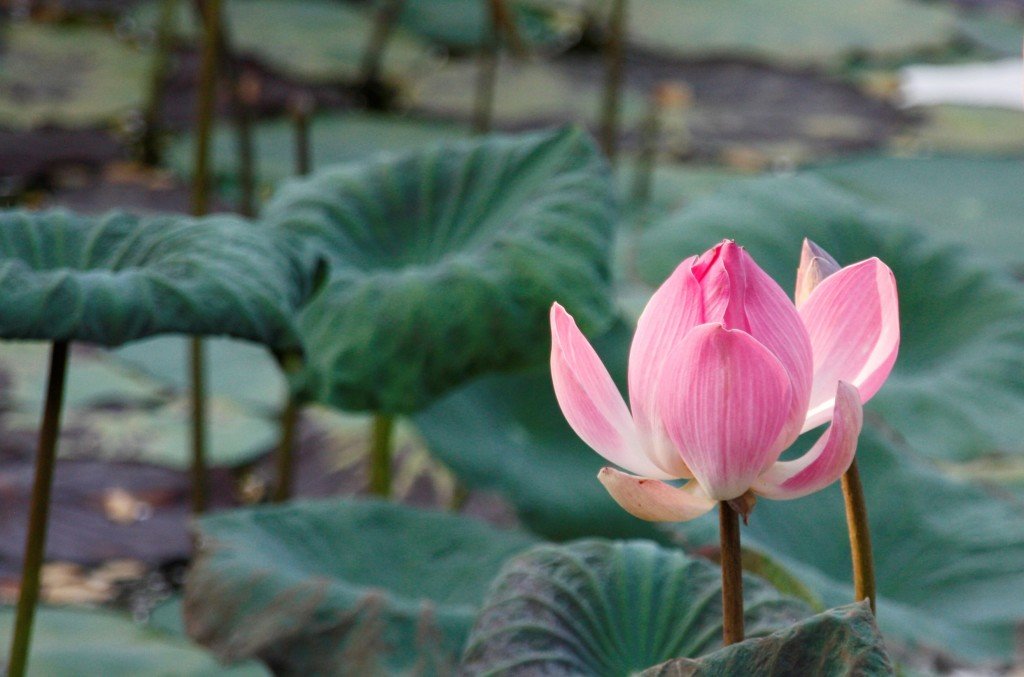
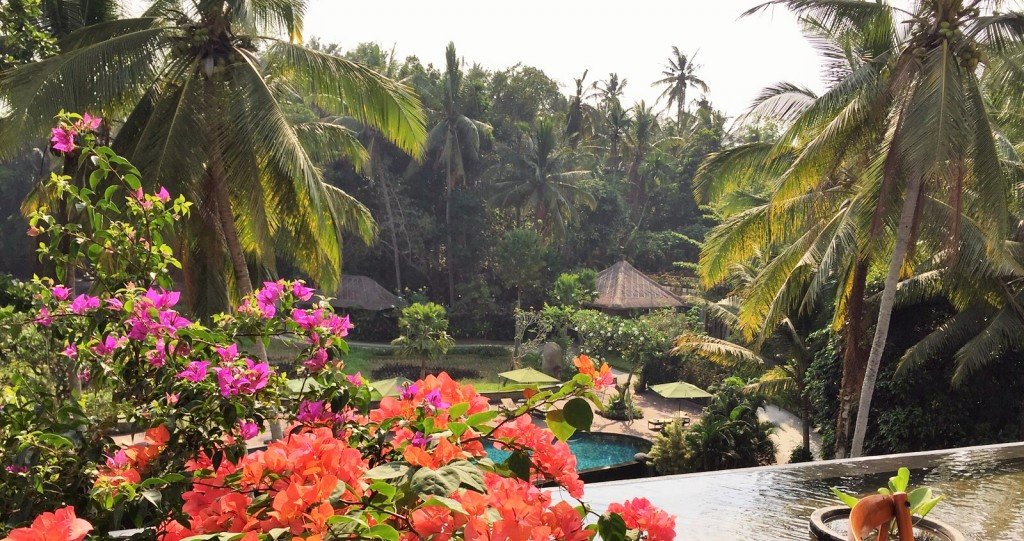
Some believe Ubud is a place of transcendence; by simply being there, one can achieve spiritual balance. Who knows? But what I can say is the city is loaded with inspiring places to visit— green rice terraces, art galleries, temples, museums, a palace, even a monkey sanctuary and nearby volcano. As for me, what I liked about Ubud was a feeling.
The Ubud Vibe
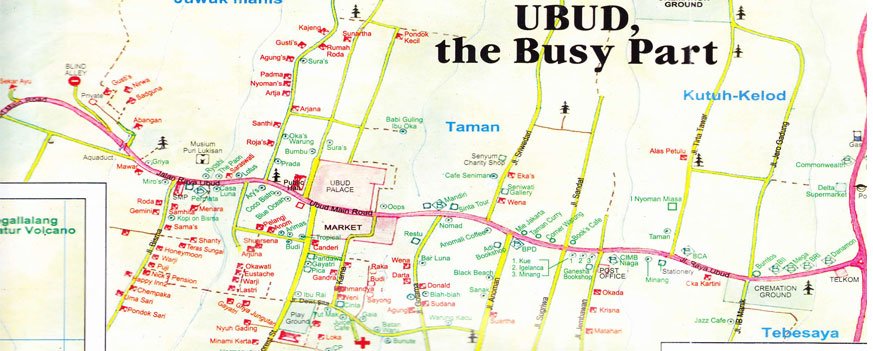
Pronounced “oobood,” the city is small. As the map suggests, it’s a handful of one- and two-lane streets. At first glance, it appears to be a small town with little shops and streets riddled with pot holes. In fact, the city is made of fourteen villages that have organically converged into one small city—while still maintaining its “village” feeling.
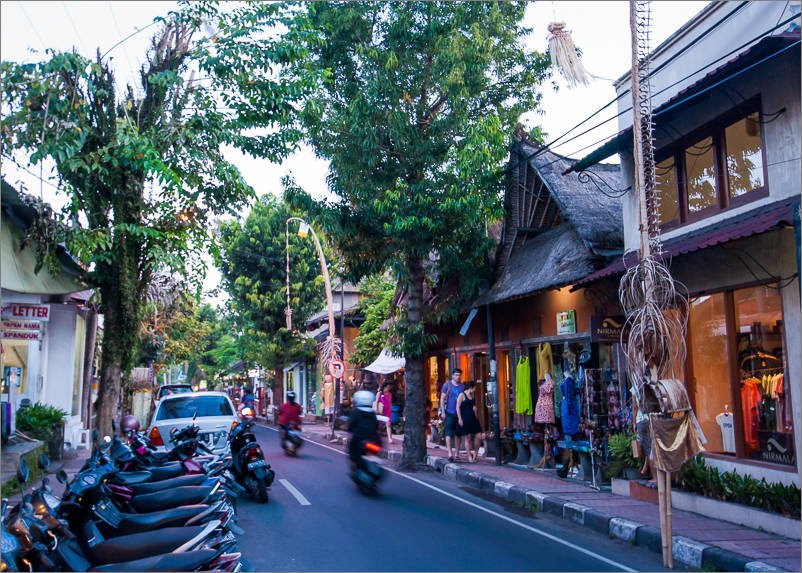
Nestled in the mountains and rice patties, the main streets of Ubud bustle with travelers, yogis, locals and expats. What I liked: the dress code and customs are casual, and everyone seems to coexist easily, a fact which adds to the welcoming feeling of the place.
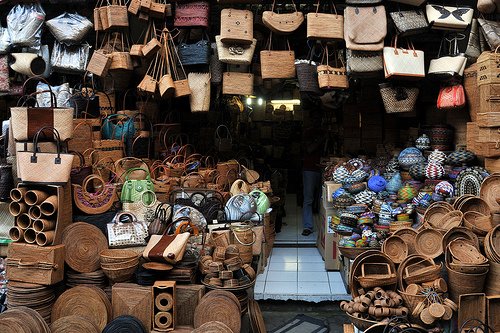
Removed from the Bali beach scene, Ubud has managed to preserve its culture. With self-imposed rules, the city has largely keep businesses and products local. In the shops I found Balinese handicrafts and jewelry. On the streets my friends and I stumbled upon this temple and Balinese girls performing a traditional dance in front of it. What a lovely sight, and no one seemed to care I was taking photos.


Despite the many visitors, Ubud did not strike me as touristy, but rather as steadfastly authentic. I didn’t notice any of the typical fast food outlets or chain restaurants that one usually sees at a tourist destination. Apparently there are chain hotels outside the city, but I never saw them. I came across one Starbucks, which I couldn’t resist. For me, it’s a little piece of Seattle.


Shopping Like a Millionaire
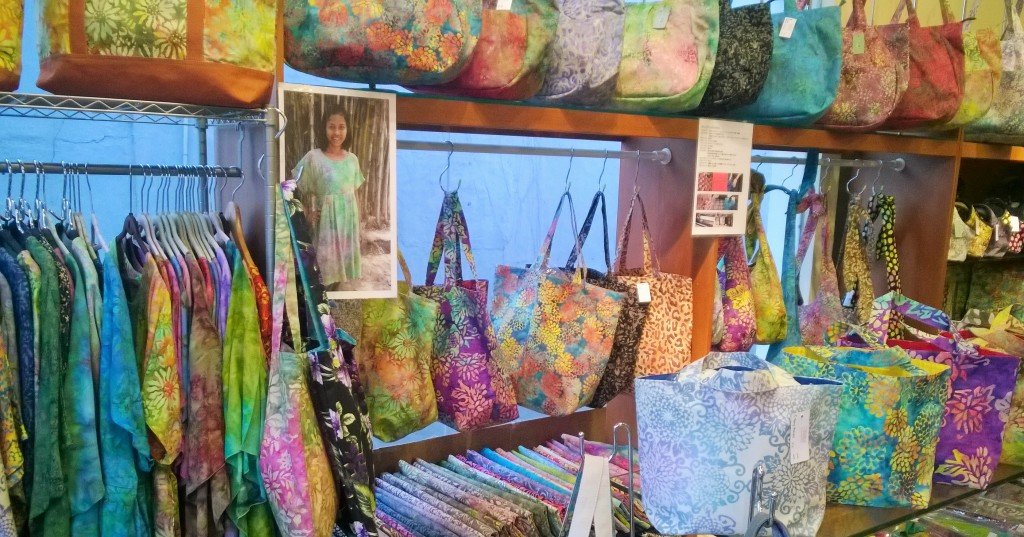
Did I mention the shopping? Everyone in my group delighted in the endless boutiques lining the streets—what a terrific break from the malls of Dubai. Each time I exchanged $100 US, I got back more than 1,300,000 rupiah. It was a struggle getting used to all those zeroes. I kept trying to pass off 5,000 for 50,000. Of course, that didn’t stop me from buying stuff. I came home with an extra suitcase of textiles, both hand woven and batiks, all made in Bali, in addition to Balinese silver jewelry, wicker bags, and books from the writers festival.

Where Everyone Asks your Name
In the short time I was there, I found the people of Ubud to be chatty and sincere. In fact, I don’t recall being any place where so many people asked my name, especially taxi drivers, but also expats, and almost anyone I sat down next to. A few moments into any taxi ride and the driver (usually named Ketut) would ask my name, where I was from, and how long I was staying. Sometimes I felt I was part of an elaborate ESL role play.
As I wondered around the city alone, I always felt safe. One day I was trying to catch a taxi on the street, and I was late for a workshop at the writers festival. After waiting impatiently, I eventually walked back to the hotel in hopes the staff could get a taxi for me. The hotel employee told me it would be 20 minutes for a taxi to arrive. I told him I needed to be there in 20 minutes. By then I was visibly stressed. I pleaded, “Can’t you just stop a taxi on the street?” And so, he stepped out and stopped one of the many familiar silver vans that fill the streets. Once inside, we exchanged the usual: where are you from, how long have you been here, etc.
This driver was named Kevin. He was from Korea and spoke beautiful English. He told me he taught meditation classes. Wow, I thought, what an unusual taxi driver. Then he pointed out a business as we drove past. “That’s my restaurant,” he said. “The only vegan Korean restaurant in Indonesia!”
“You’re not a taxi driver,” I told him.
He laughed, and appeared amused at the thought. But I was a bit shocked the hotel staff put me in some random guy’s car. Still, it was better than being late. Plus, I enjoyed the ride, talking to Kevin about meditation and soul communication (his specialty). I arrived on time, content and relaxed, amazed at how things work in Ubud.
Do-it-Yourself Spa Trip
Nearly everywhere I walked in Ubud, I passed by a little Balinese spa. So, my writers festival trip turned into a kind of do-it-yourself spa trip with massages, spa treatments, yoga, and healthy eating— all surprisingly affordable.
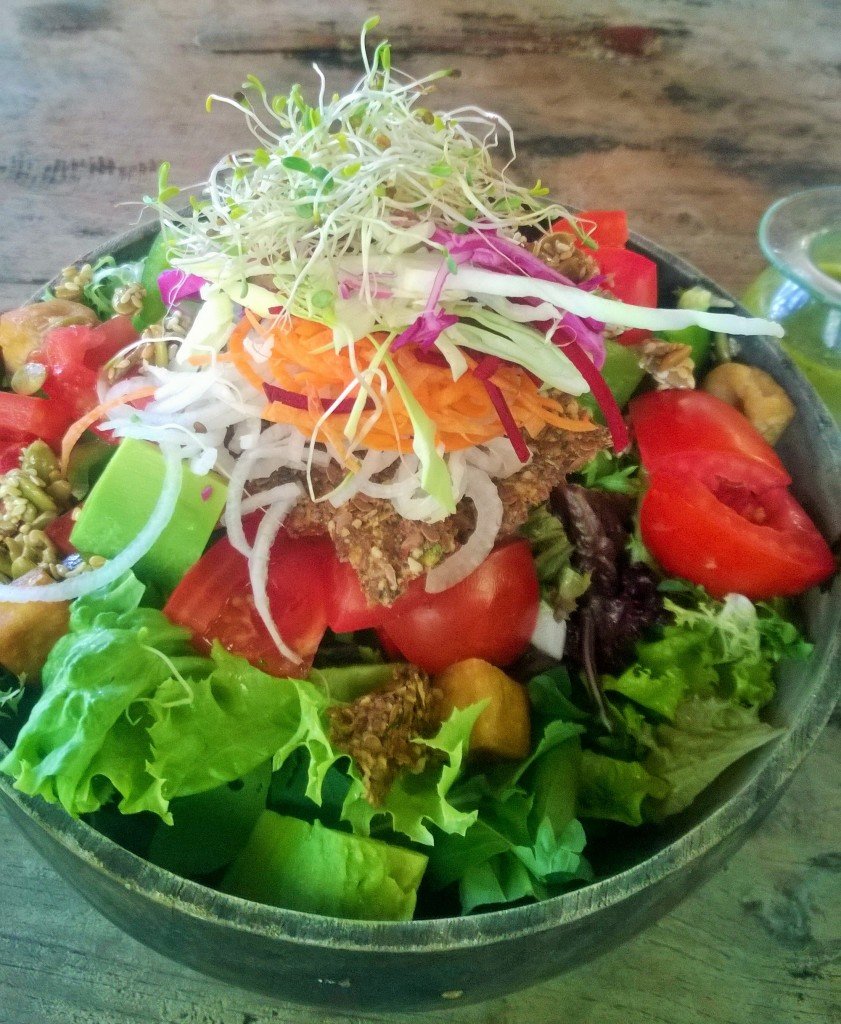
The place overflows with health food galore—raw, vegan, macrobiotic, you name it—found on every street corner. We ate local Indonesian food every evening, and most of those restaurants had separate vegetarian menus. As someone who eats mostly vegan, it was surprisingly easy for me to eat 100% vegan in Ubud, including some irresistible vegan desserts, and this vegan salad at the Yoga Barn Café.
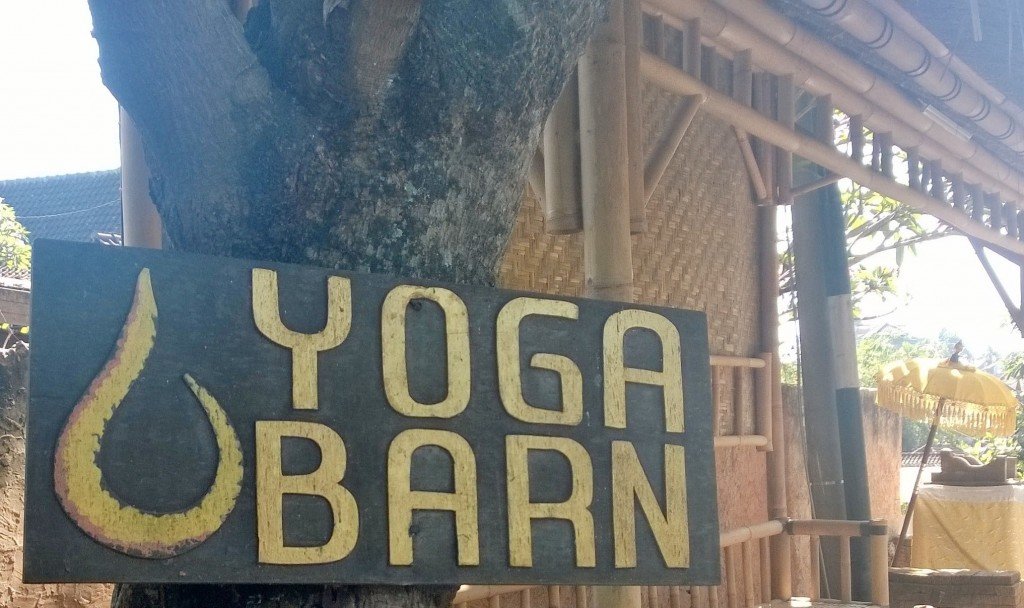
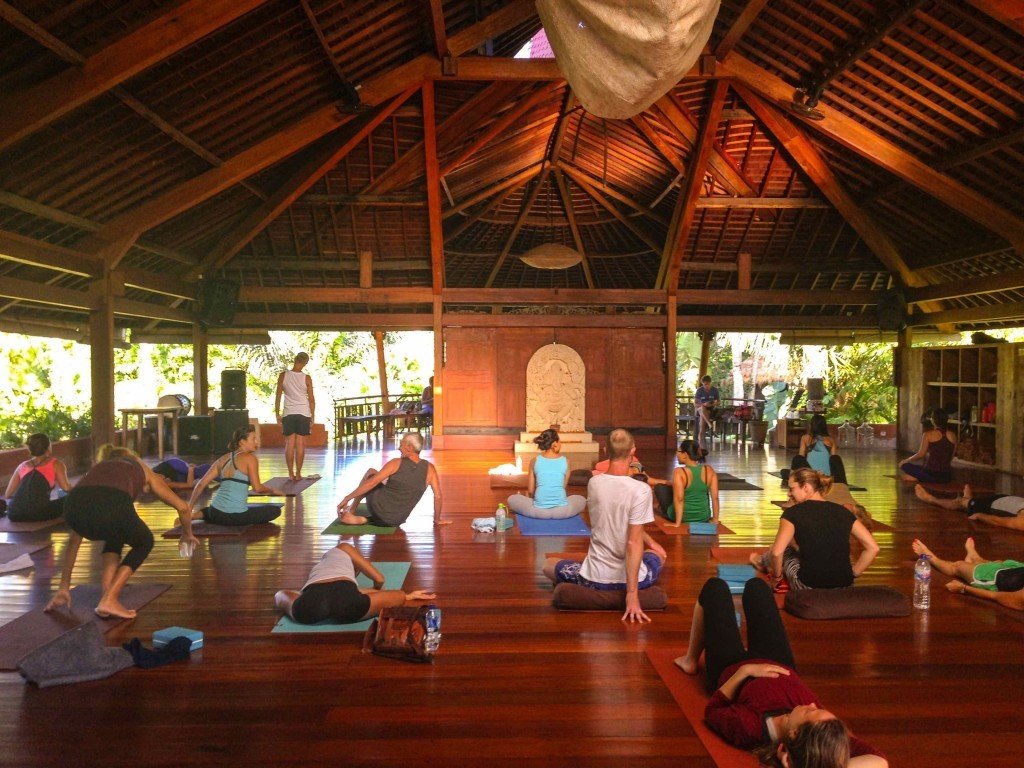
The Yoga Barn
While planning our trip, our group, all of whom practice yoga at some level, heard the Yoga Barn was the place for yoga in Ubud, so we agreed on a hotel nearby. Just a quick yogi hop from our hotel, the place offers all manner of yoga classes from 7 a.m. until late in the evening. Plus, at $10 US (130,000 IDR), the classes are super-cheap by any standards.
I took two yoga classes there, each with about 50 students. My instructors (from Canada and Japan) were dynamic and highly skilled in dealing with huge classes of students of various backgrounds and levels—many of them visitors.
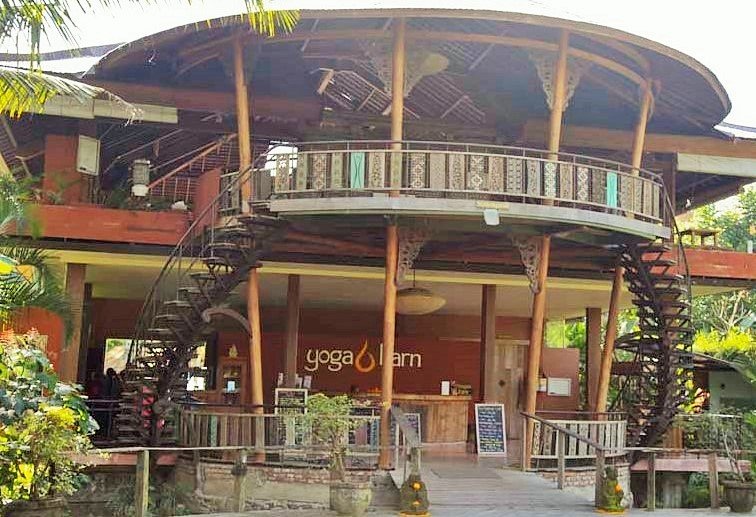
The amazing thing for me was practicing yoga in an open space, surrounded by trees, the sounds of birds, and the voices of children (there was a school nearby). With breeze wafting through, it was warm yet perfectly comfortable. I walked in feeling a bit overwhelmed and out of my element. Ninety minutes later, I left refreshed and invigorated.
Green School
One place our group did visit was the nearby Green School, located about 30 minutes south of Ubud. A few of my travel companions had heard of Green School from Elora Hardy’s Ted Talk entitled “Magical Houses Made of Bamboo”.
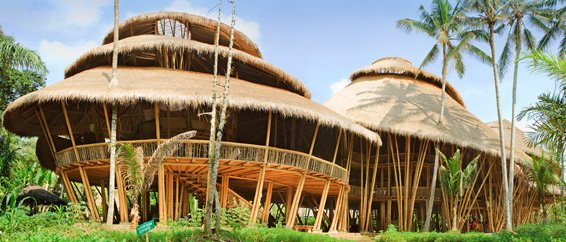
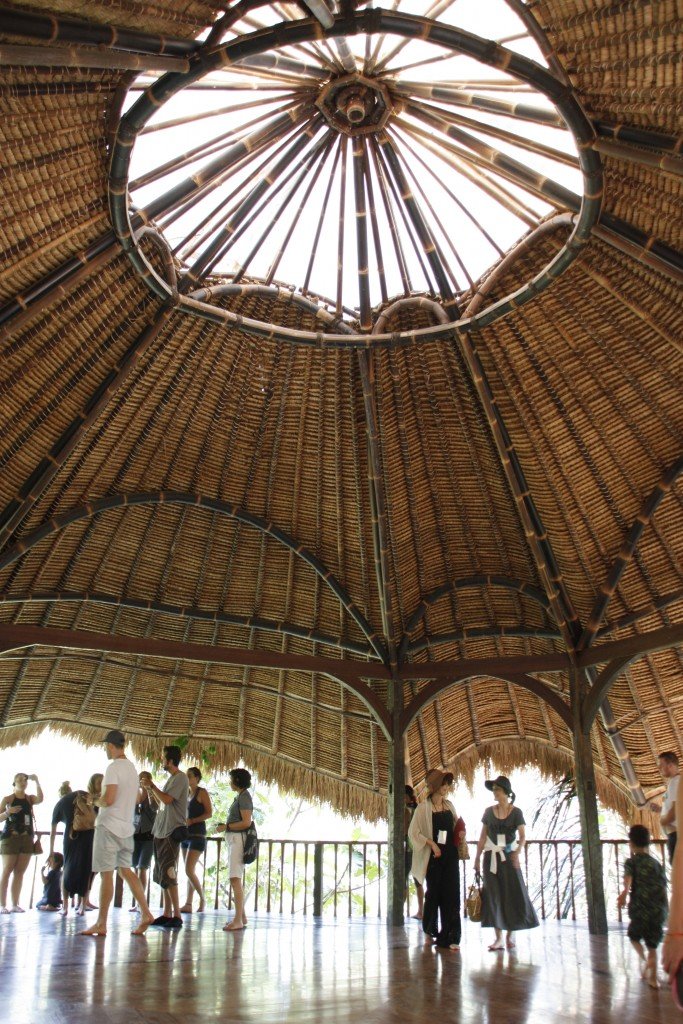
Interesting to environmentalists, architects, and educators, Green School is an eco-school with a curriculum centered on environmental values. The school relies on sustainable practices, such as solar power, composting, and bamboo architecture. Awarded the title “Greenest School on Earth,” Green School features open classrooms with natural light and no walls. Their students are both expats and local Indonesian children.

Green School offers regular tours, the fees from which fund tuition for local students. On our tour through the campus, we marveled at the bamboo structures, built with cutting edge technology, as well as traditional methods and materials. My favorite structure was the yoga space for students and teachers.
Travel Details
This year Emirates Airlines started direct flights from Dubai to Denpasar, Bali, so we were happy to test out this nine-hour flight.
The hotels in Bali are of the boutique variety—small, quaint, and in the Balinese style. We stayed at the Plataran Hotel, chosen for its proximity to the Yoga Barn. At around $100 US per night (off-season), I was amazed how perfect the place was, with the staff falling over themselves to provide us with whatever we asked.


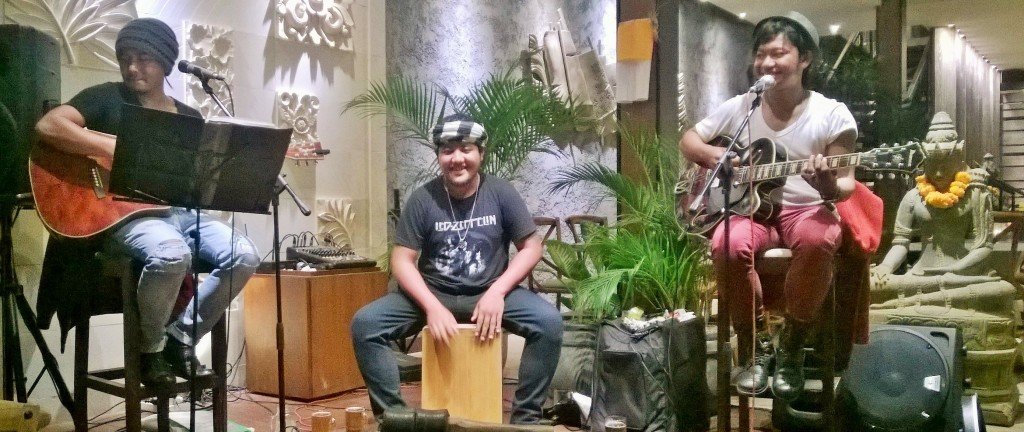
In the evenings we enjoyed live music in their bar, including this charming group of Bali-hipsters who played Cat Stevens and Beatles tunes.
Now back home in Dubai, my trip to Bali has faded into just a memory. I spend my free time sitting in my sun room—doors flung open—daydreaming about another trip to Bali. Next time I’d like to hike through a bamboo forest and bicycle through the rice terraces—like Julia Roberts and Elizabeth Gilbert did in Eat Pray Love. And I, too, shall wear a white blazer. Just like Julia.

Question: What are your impressions of Ubud and Bali?
 Follow
